Special Offer


The new location is now open at 8744 Grissom Road, San Antonio, Texas 78251.
Visit the store from 8AM to 7PM Monday through Thursday, and from 8 AM to 6PM on Friday. The store is also open the 1st Saturday of the month from 9 AM to 3 PM. It is closed on Sunday.
Our bilingual clerks are ready to help you get everything on your WIC shopping list. Visit today for easy, hassle-free WIC grocery shopping.
The holidays are here, and it’s the perfect time to make some fun, tasty memories with your family! As a busy mom, you know how important it is to find quick, budget-friendly ways to keep the holiday spirit alive.
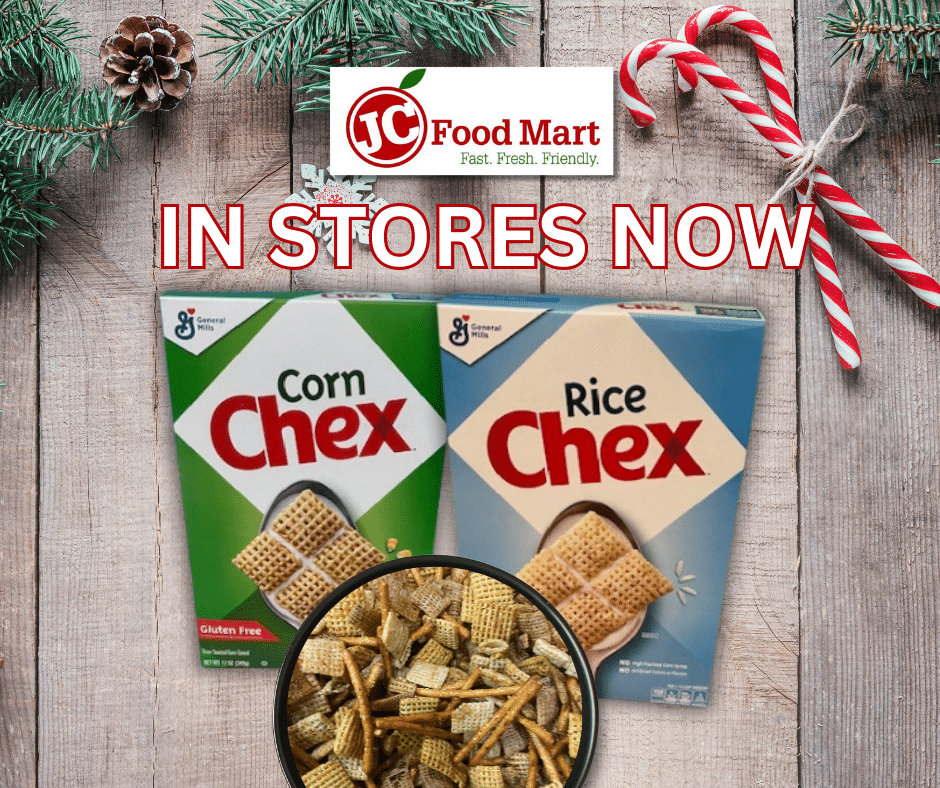
Chex™ cereal, which is WIC-approved, is a cereal that is perfect for making a snack mix.
Ready for some holiday treat inspiration? Here is a recipe from BettyCrocker.com:
3 cups Corn Chex™ cereal
3 cups Rice Chex™ cereal
2 cups Wheat Chex™ cereal
2 cups bite-size pretzels
6 tablespoons melted butter
2 tablespoons Worcestershire sauce
1 1/2 teaspoons seasoned salt
3/4 teaspoon garlic powder
1/2 teaspoon onion powder
In oval 5- to 6-quart slow cooker, stir together cereals and pretzels.
In small bowl, mix melted butter, Worcestershire sauce and spices with whisk until well combined. Pour over cereal mixture; stir until evenly coated.
Cook uncovered on High heat setting 2 hours, stirring every 20 minutes.
Spread cereal mixture on ungreased cookie sheet or sheet of waxed paper. Cool 3 to 5 minutes before serving.
Pick up your WIC-approved cereal and other WIC foods at JC Food Mart.
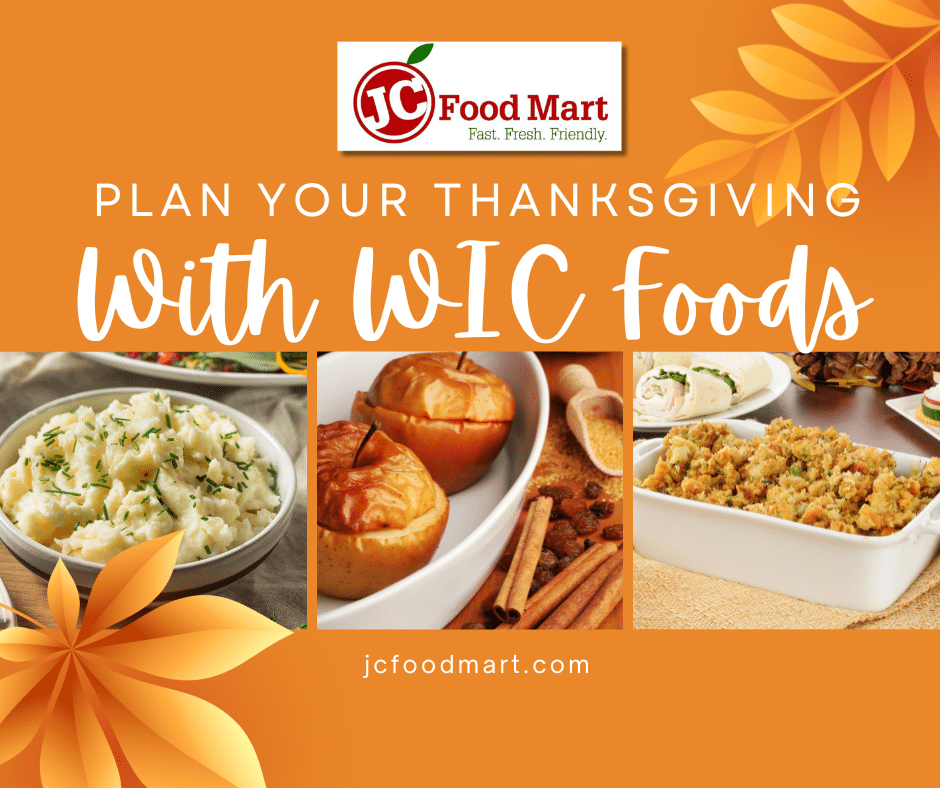
Thanksgiving is just around the corner, and at JC Food Mart, we’re here to help you create a memorable day filled with delicious food, laughter, and fun moments with your loved ones. The key to enjoying the holiday is all in the planning—when you plan ahead, you can minimize stress and focus on having fun. Here are some tips to help you prepare for a stress-free and enjoyable Thanksgiving.
The most important part of Thanksgiving prep is planning ahead. From your menu to your shopping list to prepping dishes in advance, the more you plan, the smoother your day will go. And remember: simple dishes often work best.
1. Plan Your Menu:
Before you head to the store, take some time to plan out your Thanksgiving menu. Think about your must-have dishes, but keep it manageable—there’s no need to overwhelm yourself with complicated recipes or too many ingredients.
2. Get Your Shopping Done Early:
Avoid last-minute store runs by doing your shopping early in the week. JC Food Mart is a great place to stock up on WIC-approved foods – including fresh produce, beans, dairy, and more – all can be used for your Thanksgiving Day recipes. Check out our blog post for special Thanksgiving Week hours so you can plan your trip accordingly.
3. Use Your WIC Benefits:
If you’re shopping with WIC benefits, take advantage of your fruit and vegetable allowance to pick up ingredients for your Thanksgiving sides. Some great options include potatoes, onions, carrots, frozen vegetables, and even fruit for desserts. Beans are another WIC-approved food that make a great side dish, and cheese can add an extra layer of flavor to vegetables like broccoli. Need inspiration? Check out our recipe for Broccoli and Cheese or try our Stuffing Recipe for a classic side dish. You also can’t miss this vegetable platter that looks like a Turkey.
4. Keep It Simple
You don’t need to make a 10-course meal to have a wonderful Thanksgiving dinner. Stick to simple, familiar dishes that everyone will love. Make a list—either on your phone or the good old-fashioned way with pen and paper—to help you stay organized and ensure you don’t forget anything.
If you’re looking for some healthy and easy-to-make recipes, check out these great websites that offer simple ideas using WIC-approved foods:
Texas WIC: Find healthy recipes like Apple Crisp, Sweet Potato Balls, Citrus Glazed Carrots, and Carrot Bread.
Cooking Matters: From Banana Pudding to Baked Apples, this site is full of nutritious and family-friendly recipes.
USDA: This site offers a wide variety of Thanksgiving recipes, including ideas for leftovers!
Simple Alternatives for the Turkey
Does the idea of cooking a large turkey overwhelm you? You don’t have to roast a whole bird to have a successful Thanksgiving meal. Consider making a smaller turkey breast or tenderloin, which are easier to cook and typically cost less. If you prefer, you could even skip the turkey altogether and make a different meal your family loves.
If you do decide to roast a turkey, check out the USDA’s Turkey Cooking Tips to make sure your bird turns out perfectly.
Enjoy the Day, Not Just the Meal
Thanksgiving is about more than just the food—it’s about spending quality time with the people you love. After your meal, take a walk outside or play a game with the kids. It’s a great way to burn off those extra calories and create lasting memories.
At JC Food Mart, we wish you a happy, healthy, and safe Thanksgiving. Our stores will be open regular hours on the Wednesday before Thanksgiving, and we accept SNAP. Find your nearest location. We can’t wait to help you make this holiday the best one yet!
Happy Thanksgiving from all of us at JC Food Mart!
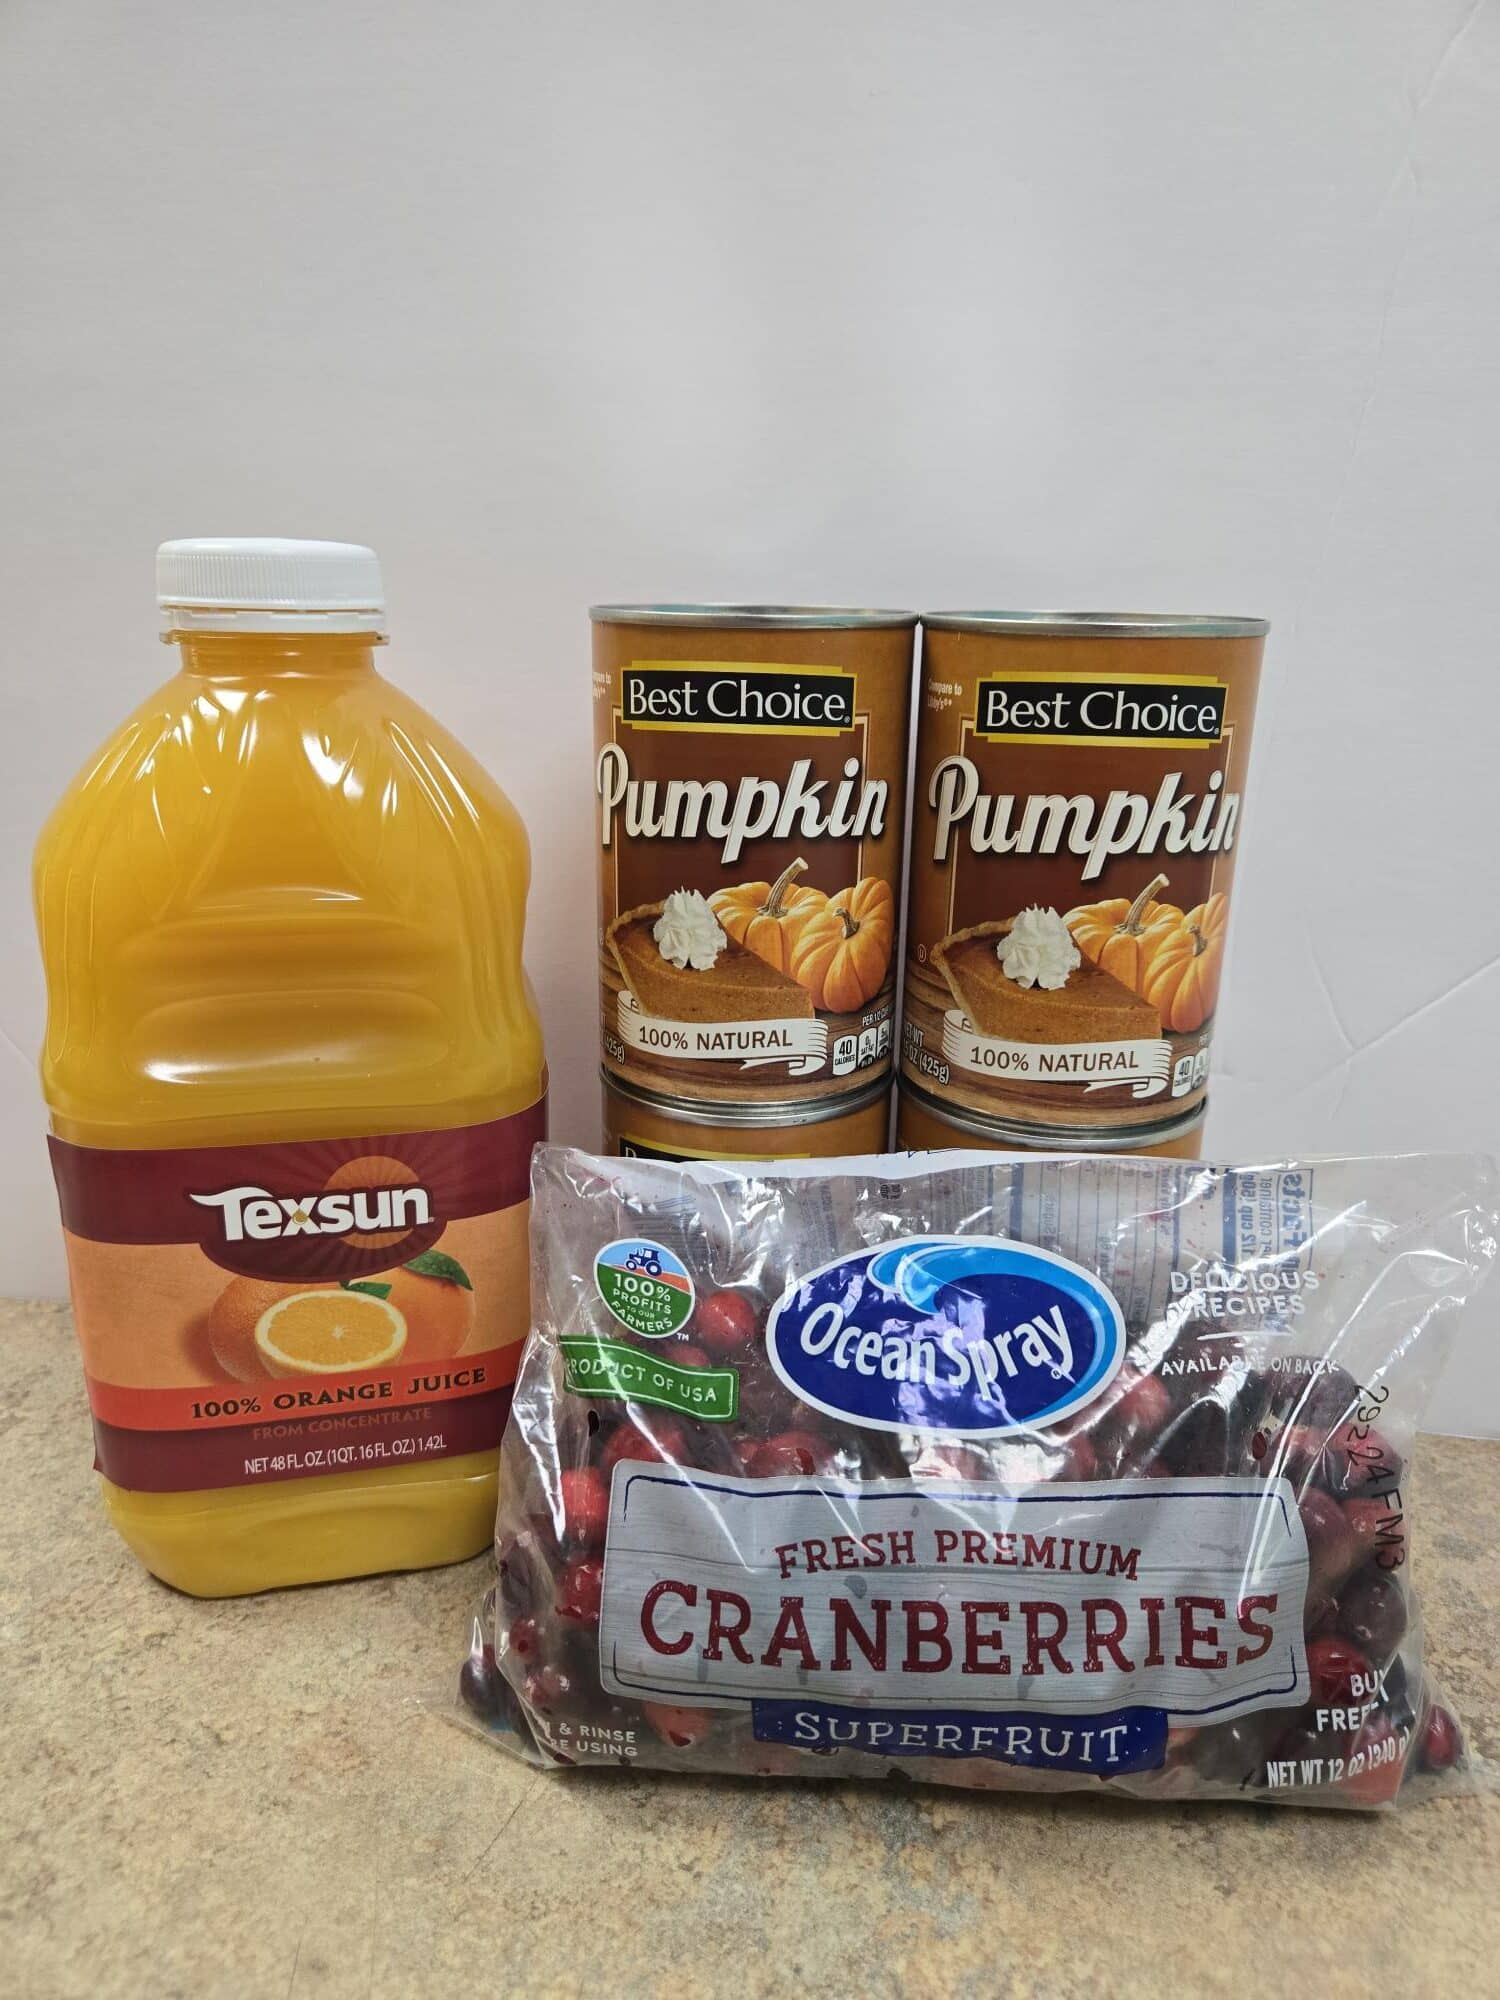
JC Food Mart stores are now offering seasonal favorites perfect for the holiday season: canned pumpkin puree and fresh cranberries.
As a busy mom, the holiday season can feel overwhelming, especially when you’re trying to balance meals for the family with all the other Thanksgiving preparations. But did you know that two ingredients—fresh cranberries and canned pumpkin puree—can make your holiday dishes healthier and easier to prepare? Not only are they packed with nutrients, but they’re also versatile and perfect for adding a little extra nutrition to your holiday meals.
Here’s why these two WIC-approved foods should be on your Thanksgiving shopping list, plus easy and delicious ways to include them in your meals.
Cranberries are a small but mighty fruit. They’re loaded with vitamin C, fiber, and antioxidants, which help boost your immune system—something every mom can appreciate, especially with all the extra holiday hustle. Cranberries are also known for supporting heart health, and their tart, tangy flavor adds a fresh pop to your meals. Best of all, they’re super easy to cook with and make your dishes look festive with their bright red color.
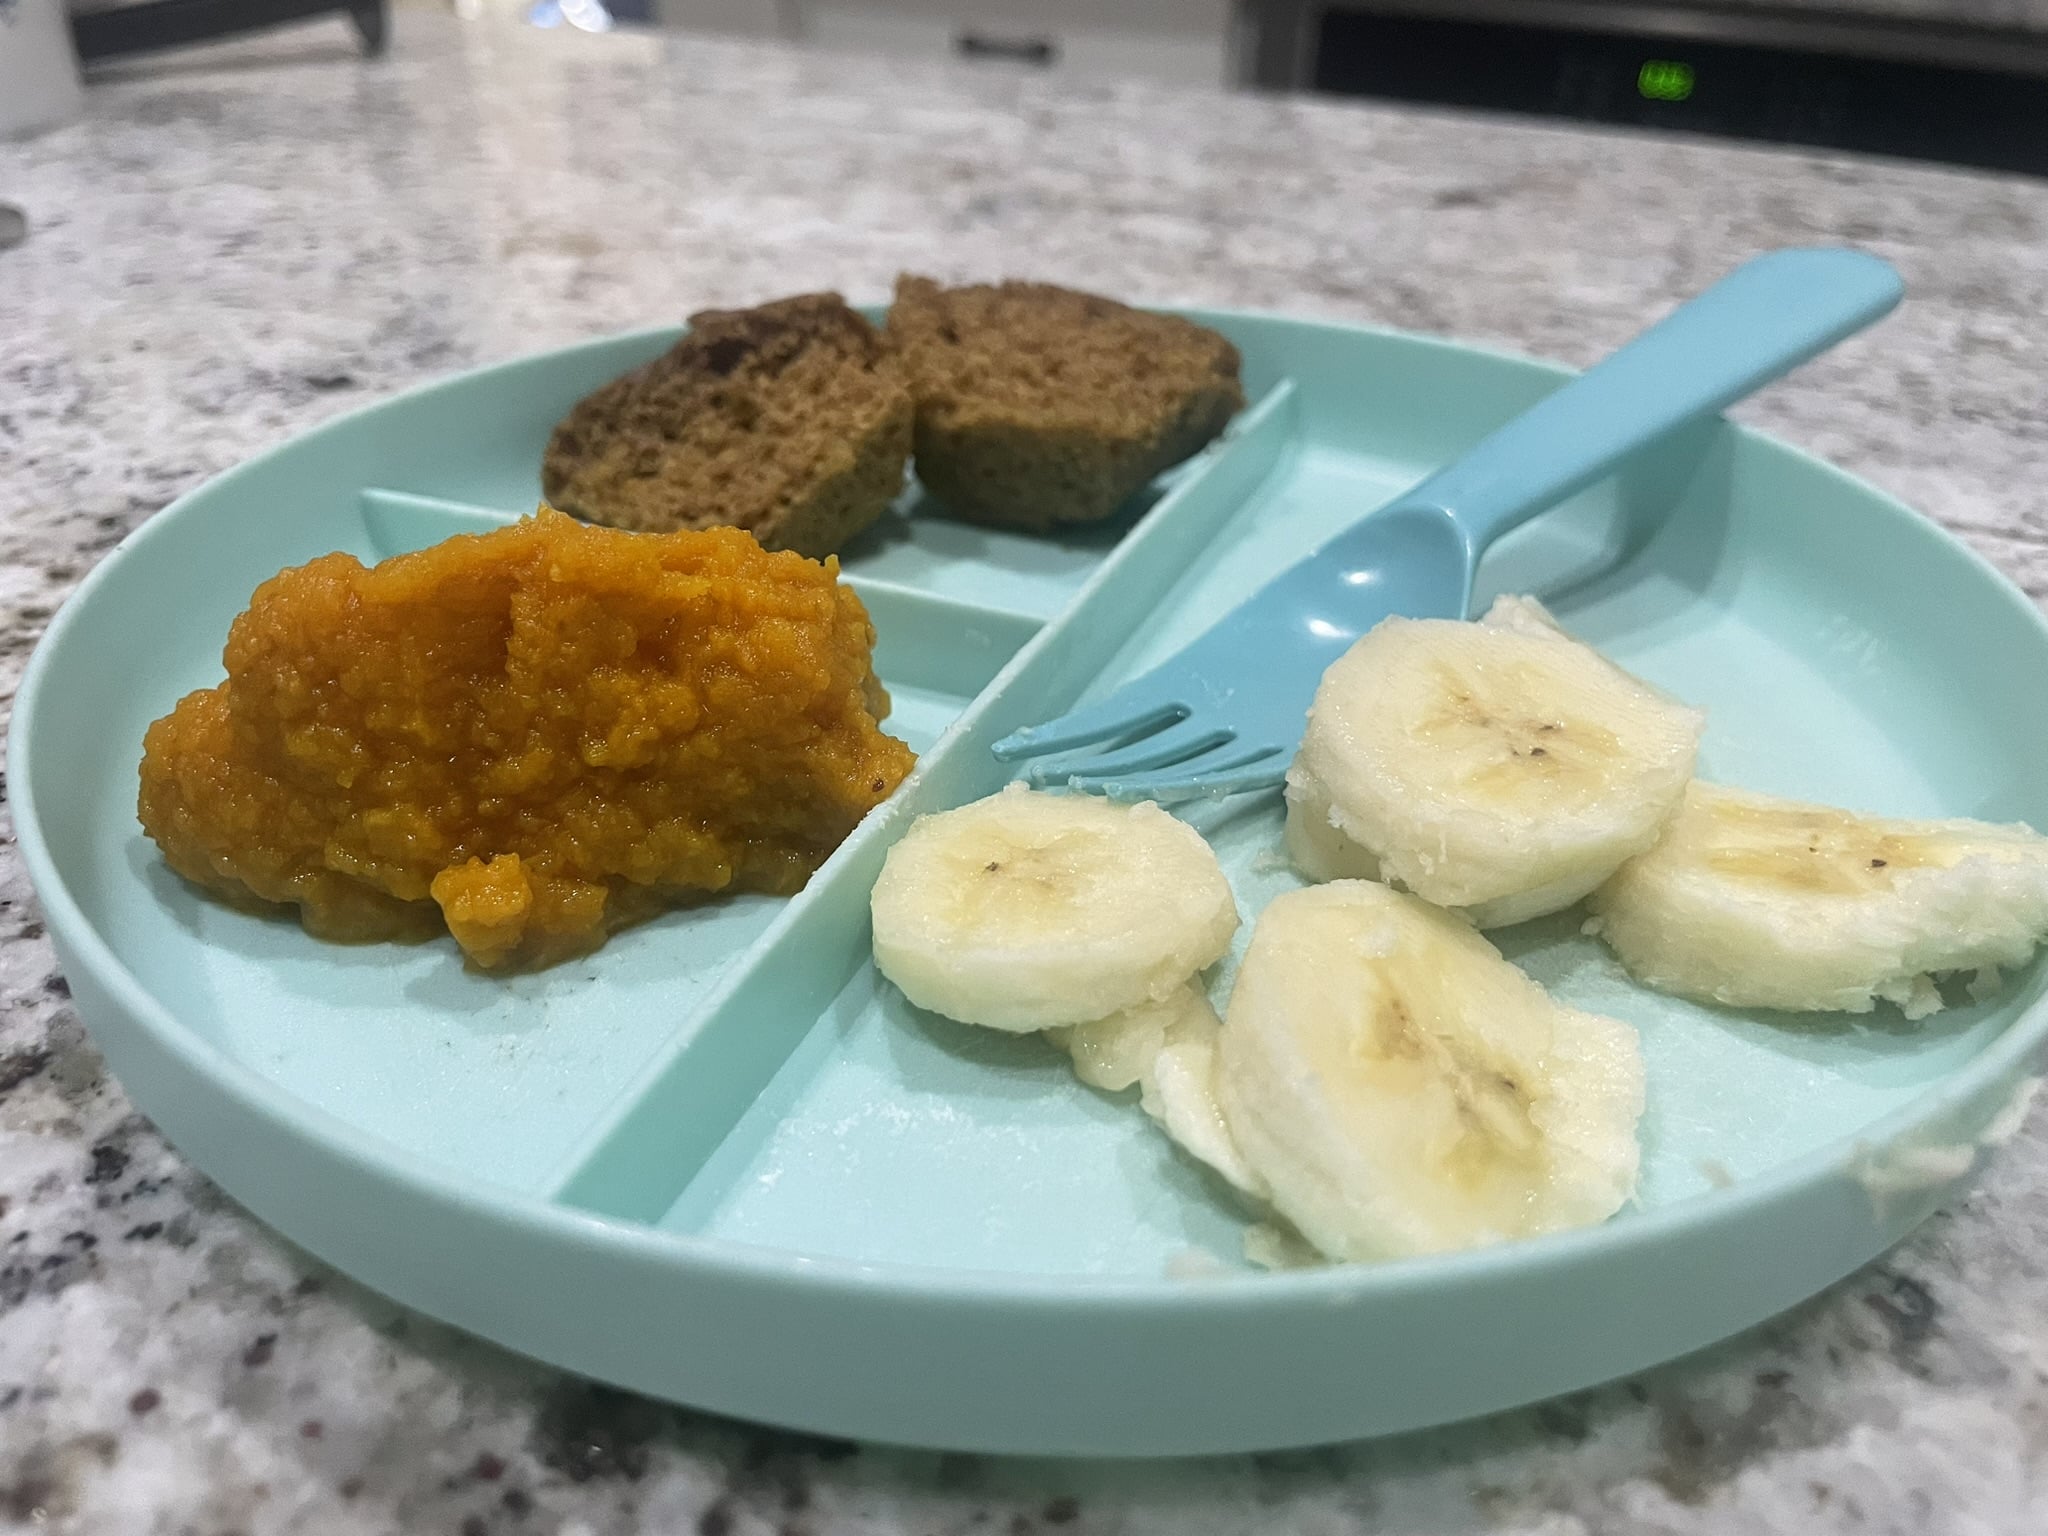
Canned Pumpkin Puree (be sure it’s 100% pumpkin, not the sweetened pie filling) is another great choice. It’s packed with vitamin A for eye health, potassium for strong muscles, and fiber to keep everyone feeling full. Pumpkin is also low in calories, making it a great option if you’re looking for nutritious, filling meals without the extra sugar and fat. Plus, it’s smooth, creamy, and super easy to use in so many recipes— muffins, smoothies, mixed with pasta and more!
Now, let’s dive into some simple and healthy ways to use cranberries and pumpkin puree this holiday season that everyone in the family will love.
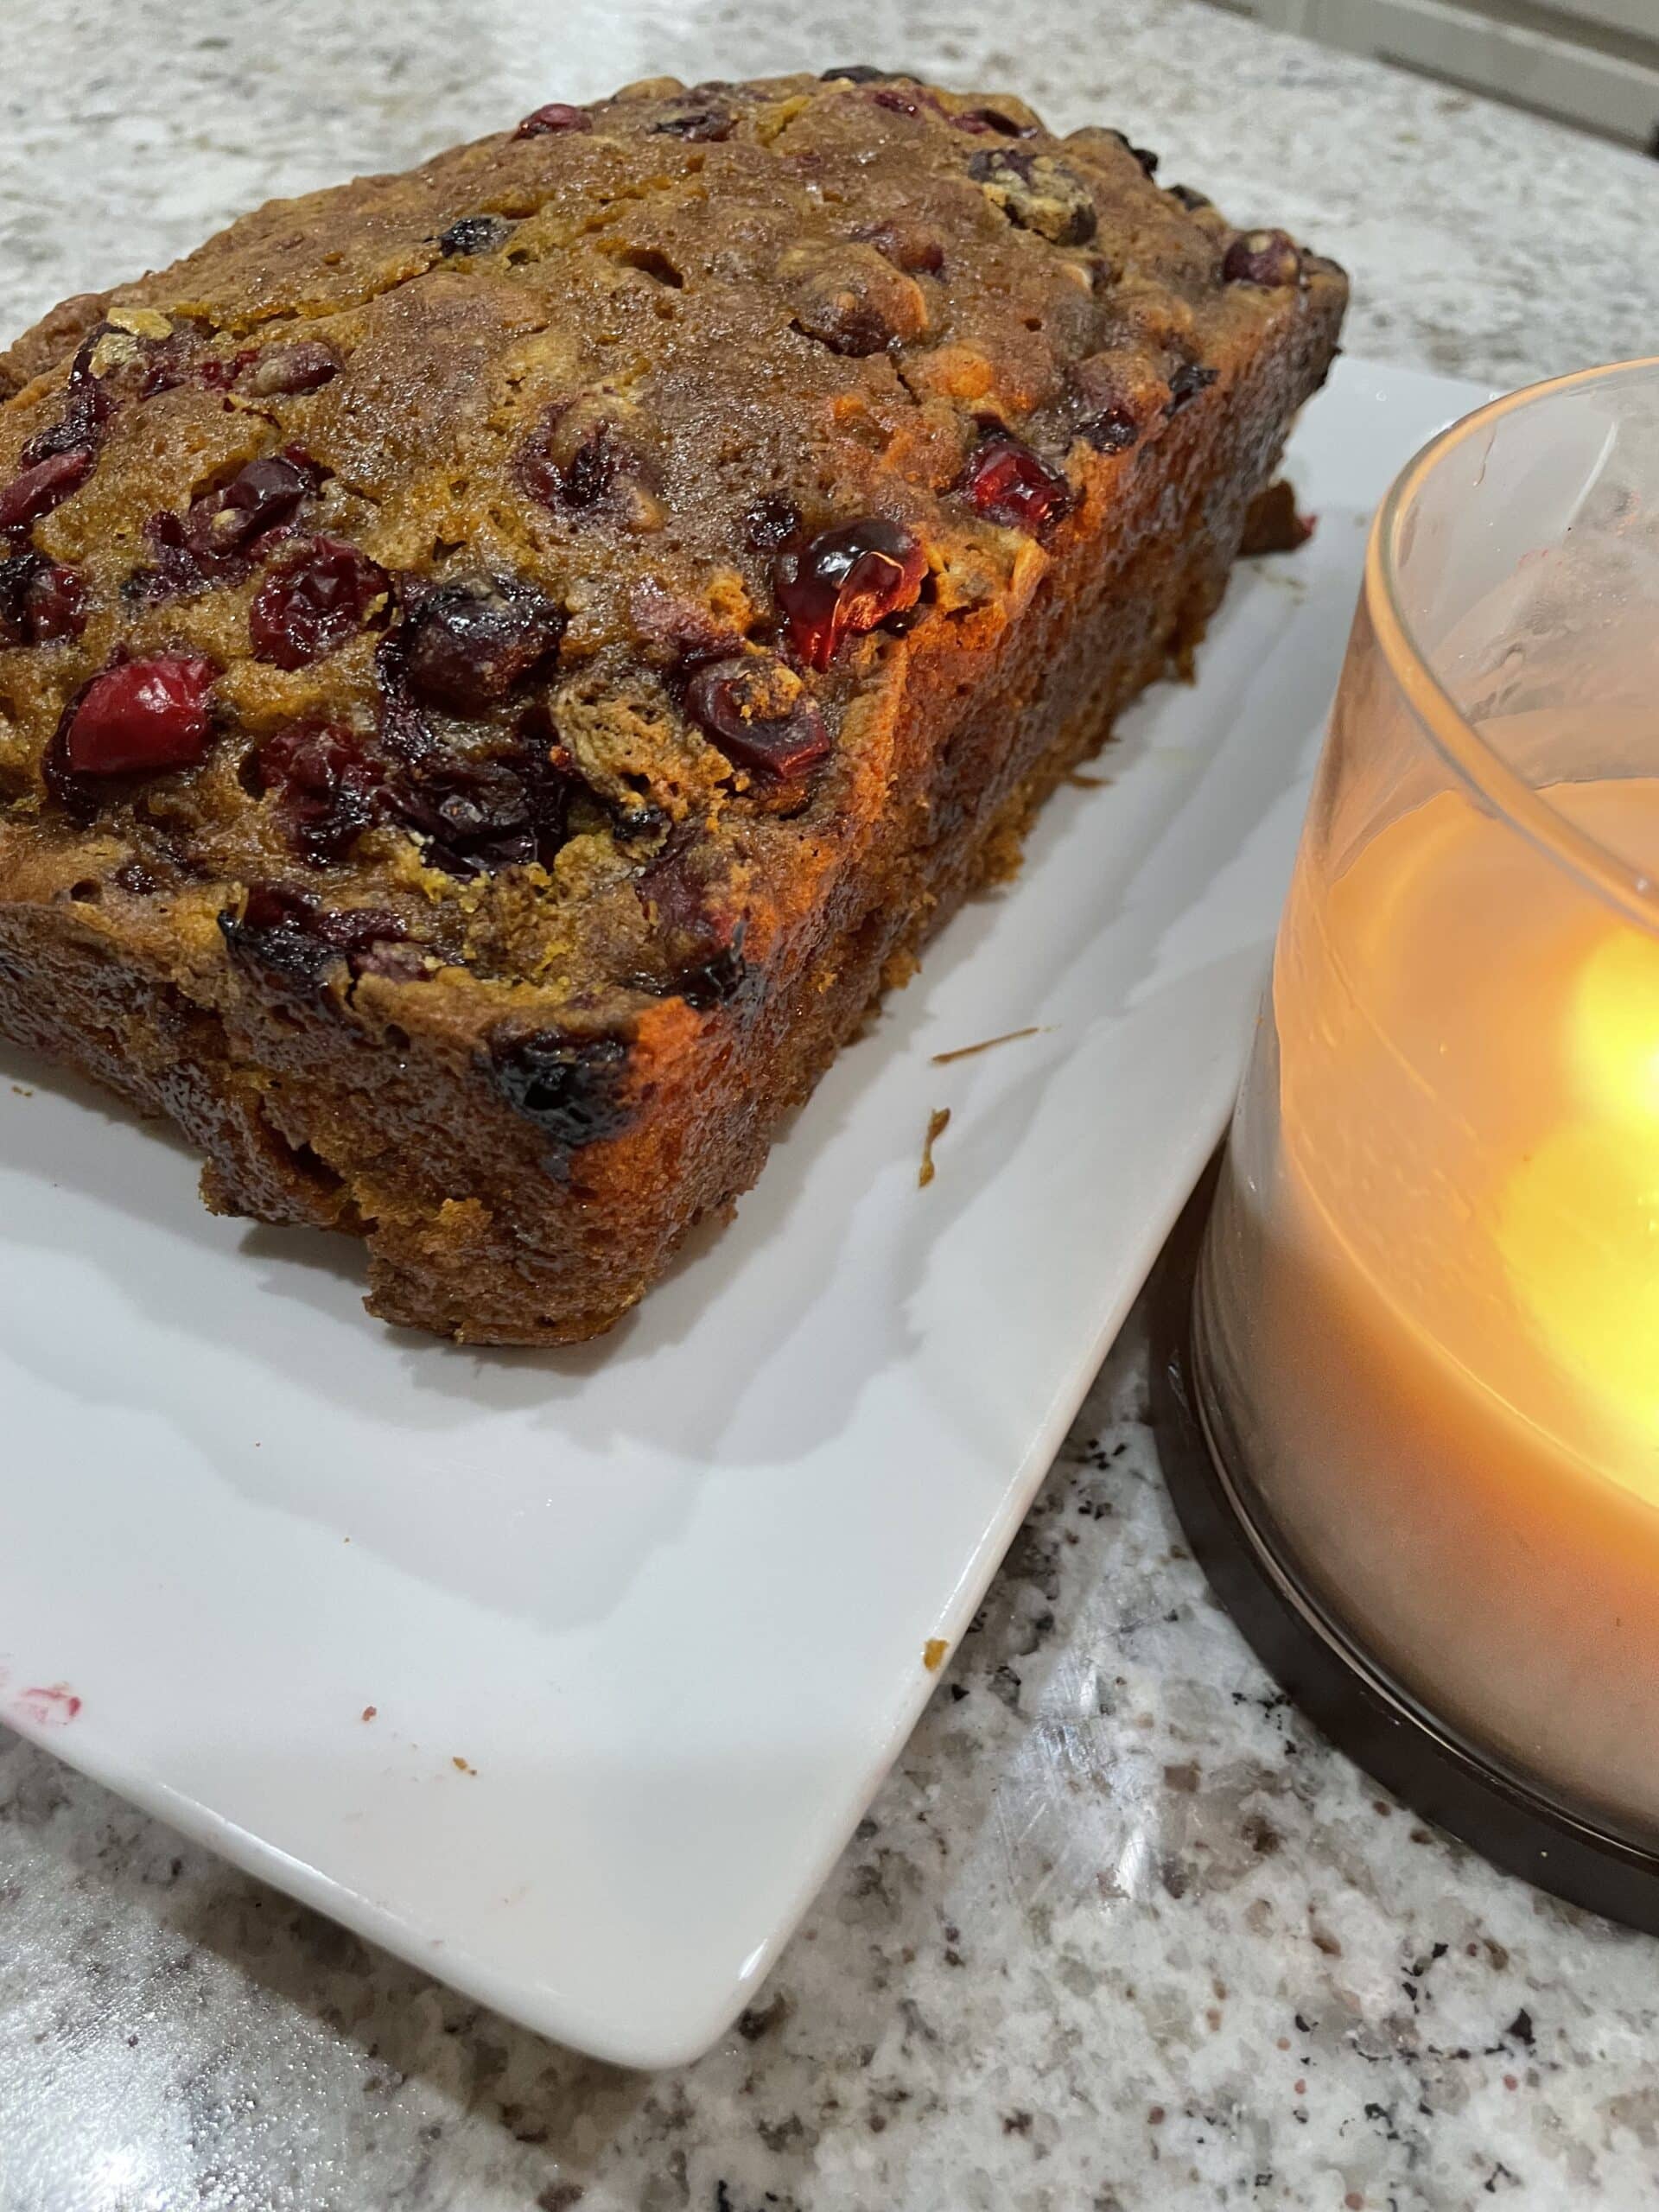
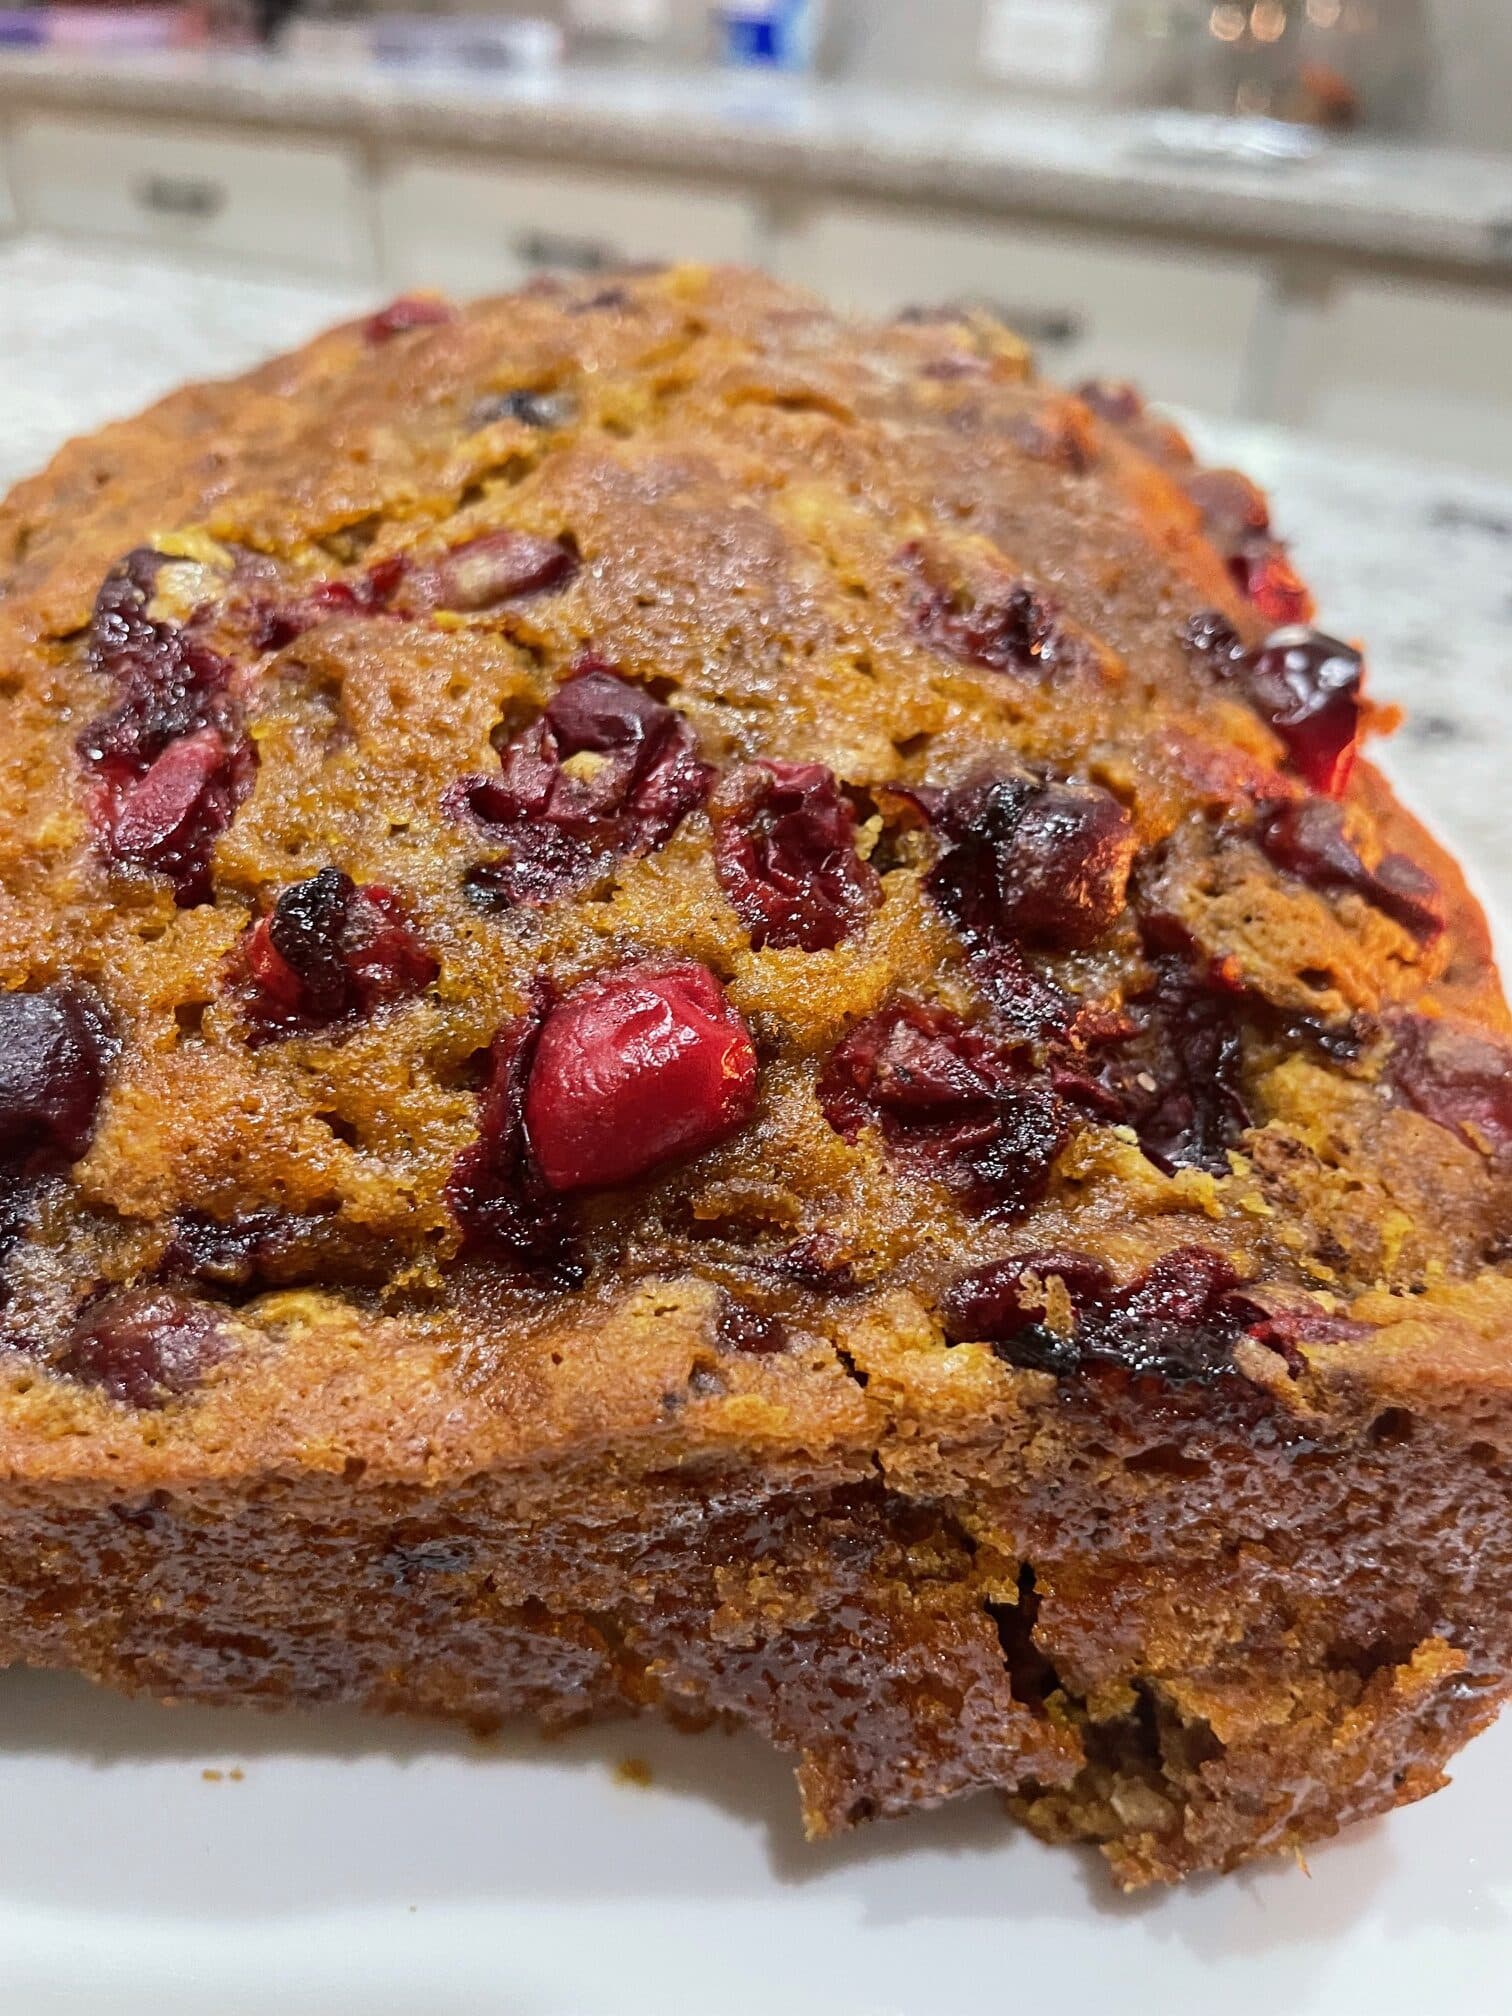
PUMPKIN CRANBERRY BREAD
4 eggs
1 cup vegetable oil
1 15 ounce can of pumpkin puree
1/2 cup orange juice or water
3 cups of sugar
3 cups of flour
1 tablespoon plus 2 teaspoons of pumpkin pie spice
1 1/2 tsp salt
2 tsp baking soda
1 to 1 1/2 cups cranberries, fresh
Spray 2 9×5 loaf pans with cooking spray. Preheat oven to 350 degrees. In a bowl, combine the sugar, eggs and oil. Mix. Then add in the pumpkin puree and mix. Add the orange juice or water and mix. In another bowl, combine the flour, pumpkin pie spice, salt and baking soda. Mix the ingredients from both bowls together until just moistened. Fold in cranberries. Pour batter into prepared loaf pans. Bake for about an hour to an hour and 15 minutes or until done, when toothpick comes out clean. Cool for 10 minutes before removing from pans.
![]()
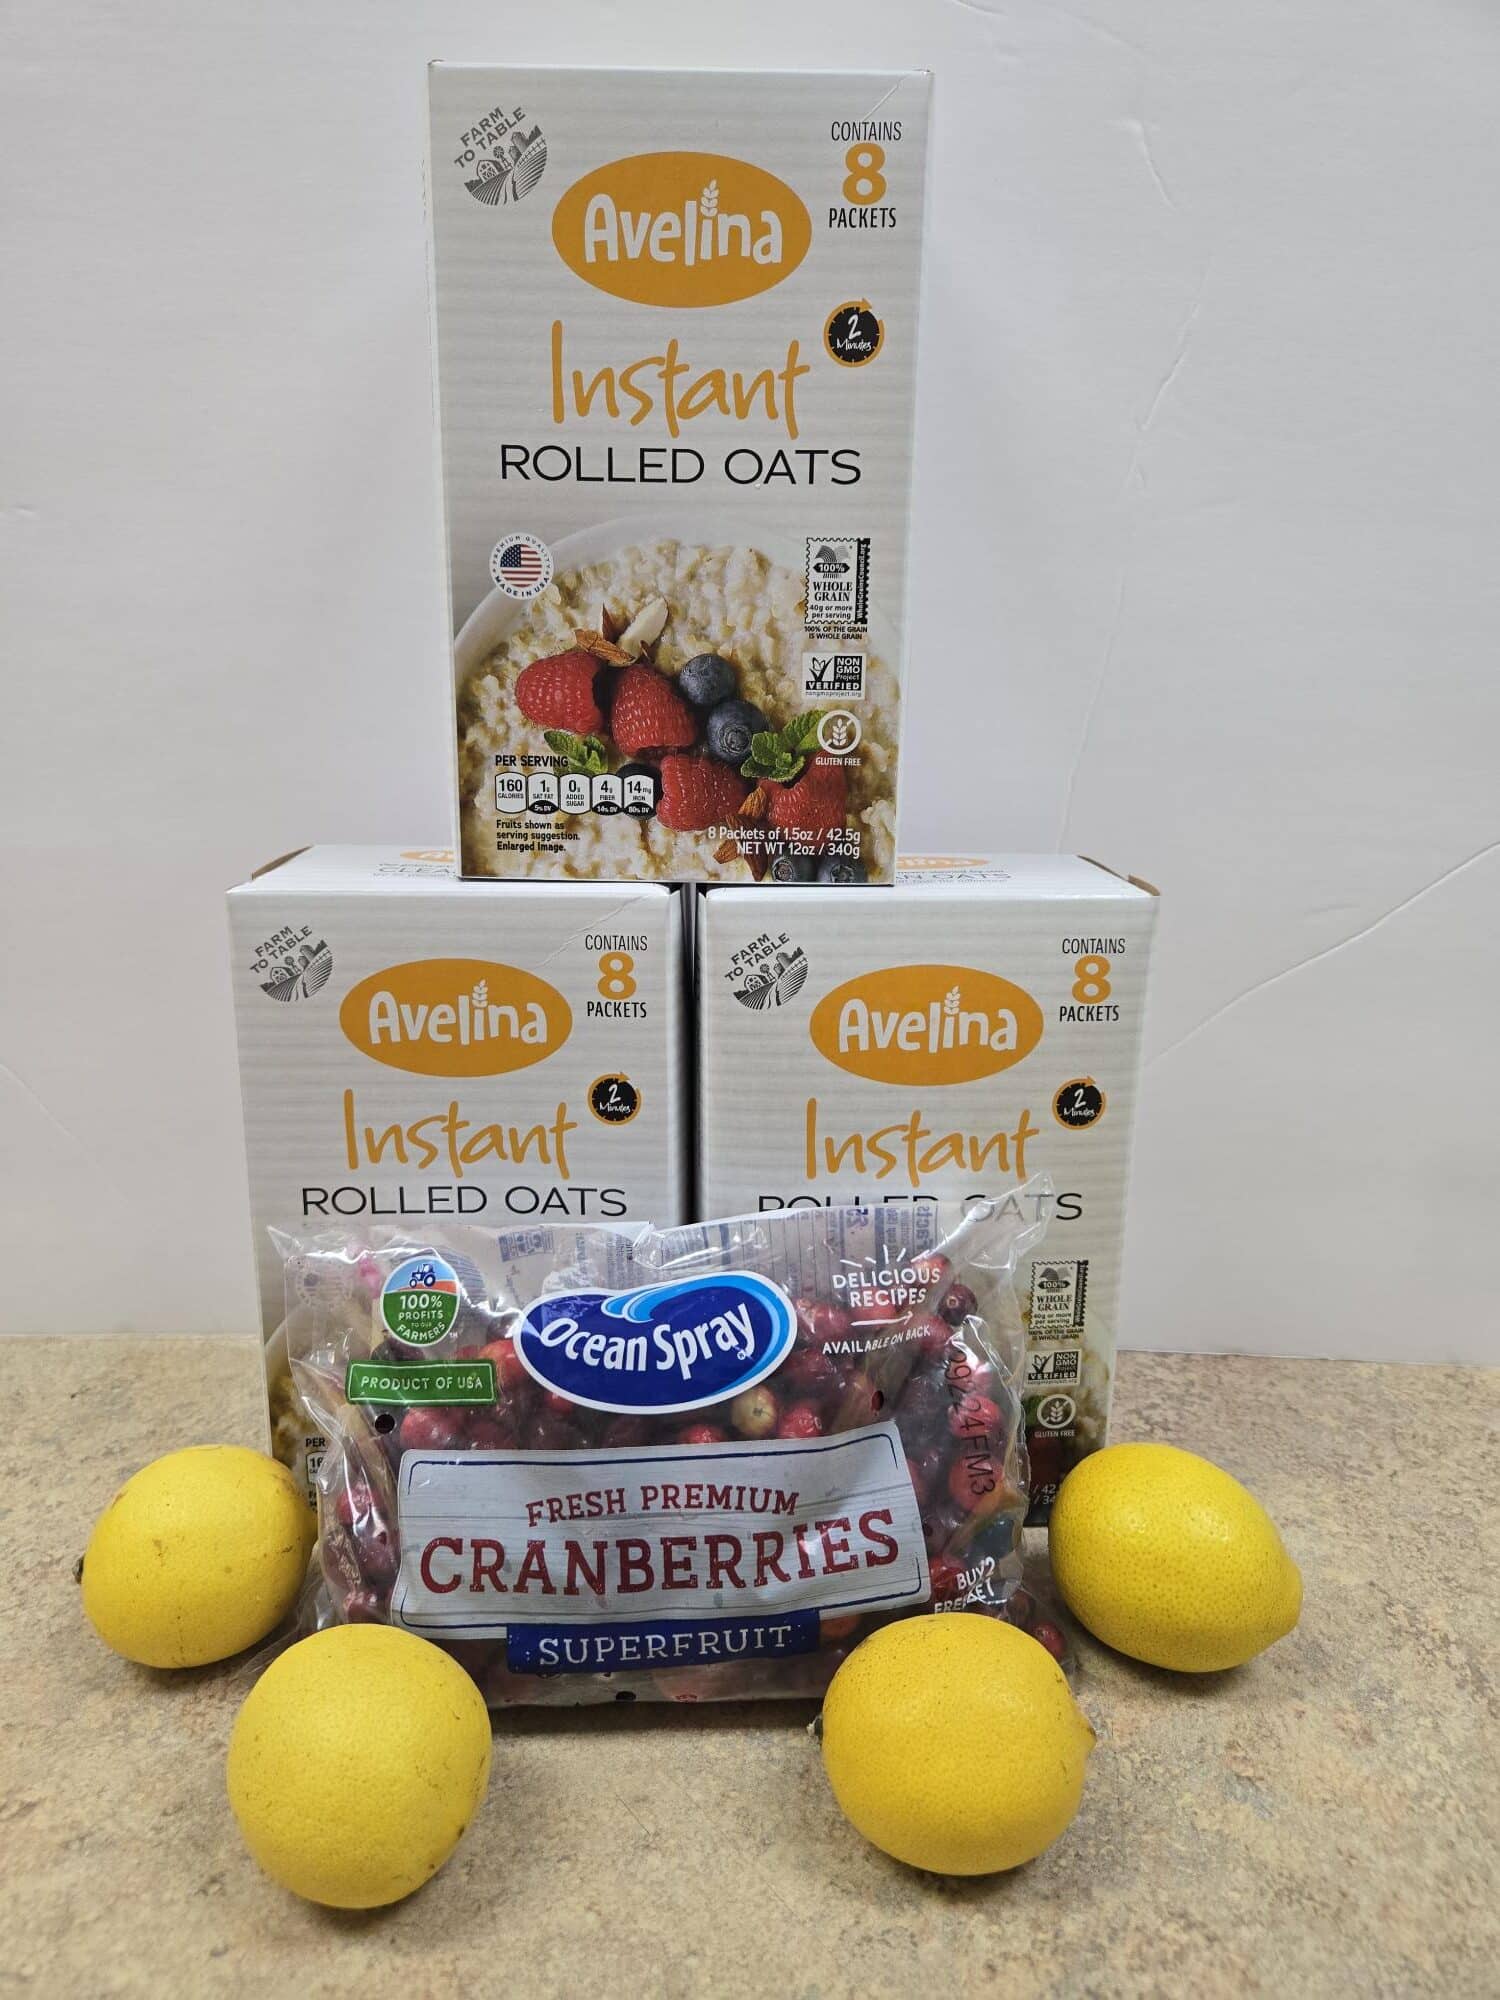
CRANBERRY BARS WITH OAT CRUMBLE
For the crumble:
1 1/2 cup of flour
1 1/2 cup rolled oats, not quick oats
2/3 cup coconut sugar or sugar
1 1/2 sticks of butter, melted
1/2 cup walnuts, chopped
1 tablespoon flaxseed, ground
1/2 teaspoon baking soda
1/2 teaspoon salt
1/2 teaspoon cinnamon, ground
For the Cranberry topping:
1 12 oz bag of fresh cranberries
4 tablespoons lemon juice, fresh
1 tablespoon lemon zest
1/2 cup granulated sugar
Preheat oven to 350 degrees. Mix together the following ingredients until combined: Melted butter, flour, rolled oats, 2/3 cup of the sugar, walnuts, flaxseed, baking soda, salt and cinnamon. Press into an 8×8 baking pan and bake for 15 minutes.
In a saucepan, add the cranberries, juice, zest and 1/2 cup of sugar. Cook on medium heat. Once the cranberries have cooked down, add a little bit of water and cook until it looks like cranberry sauce. Pour this on top of the cooked crumble that is in the 8×8 pan. Bake the bars for 20 more minutes. Let rest until cooled before cutting. Enjoy
![]()
Some might say that the cranberry sauce is one of the most popular sides on Thanksgiving. It can be made even more flavorful and nutritious with the addition of spices or other fruits. This simple recipe takes advantage of the natural tartness of cranberries and infuses them with a hint of cinnamon and orange zest.
12 oz fresh cranberries
1/2 cup orange juice
1/4 cup honey or maple syrup (optional)
1 tsp cinnamon
1/2 tsp grated orange zest
Pinch of sea salt
In a saucepan, combine cranberries, orange juice, honey, cinnamon, and orange zest. Bring to a simmer over medium heat, stirring occasionally, and cook until the cranberries burst and the sauce thickens (about 10-12 minutes). Season with a pinch of sea salt to balance the flavors. Cool and serve alongside turkey or as a topping for roasted vegetables.
Visit a JC Food Mart store today for easy WIC grocery shopping. Pick up fresh cranberries, pumpkin puree and other ingredients used in these recipes.
Here’s a simple and delicious recipe for roasted pumpkins that brings out all the flavor of fall. These roasted pumpkins make a great side dish or a tasty snack. You can also use them in salads, soups, or as part of a festive fall platter.
Don’t forget to save the pumpkin seeds to roast for a snack or to use to top your favorite salad.
ROASTED PUMPKINS
2-4 mini pumpkins or 1 larger pumpkin
2 tablespoons olive oil
1 teaspoon salt
1/2 teaspoon black pepper
1 teaspoon garlic powder (optional)
1 teaspoon dried herbs (like thyme, rosemary, or sage; optional)
Optional toppings: grated Parmesan cheese, balsamic glaze, or chopped fresh herbs
Preheat your oven to 400 degrees. Wash the mini pumpkins and cut them in half from top to bottom. Scoop out the seeds and any stringy insides using a spoon. Then cut them into slices for easier roasting. Drizzle with olive oil and sprinkle with salt, pepper, garlic powder, and dried herbs if using. Rub the seasonings into the flesh of the pumpkins to ensure they’re evenly coated.
Roast in the preheated oven for about 25-30 minutes, or until the flesh is tender and lightly browned. You can check for doneness by piercing with a fork; it should slide in easily. Once cooled, You can now remove the skin from the outside.
Optionally, sprinkle with grated Parmesan cheese, drizzle with balsamic glaze, or garnish with fresh herbs before serving.
These roasted mini pumpkins make a great side dish or a tasty snack. You can also use them in salads, soups, or as part of a festive fall platter.
It’s the season. You got your pumpkin, and you have decided you don’t want it to be used for cute seasonal decoration.
One popular way to enjoy pumpkin is to roast the seeds. Be sure to save the rest of the pumpkin for another delicious recipe.
Here is a basic recipe to get you started.
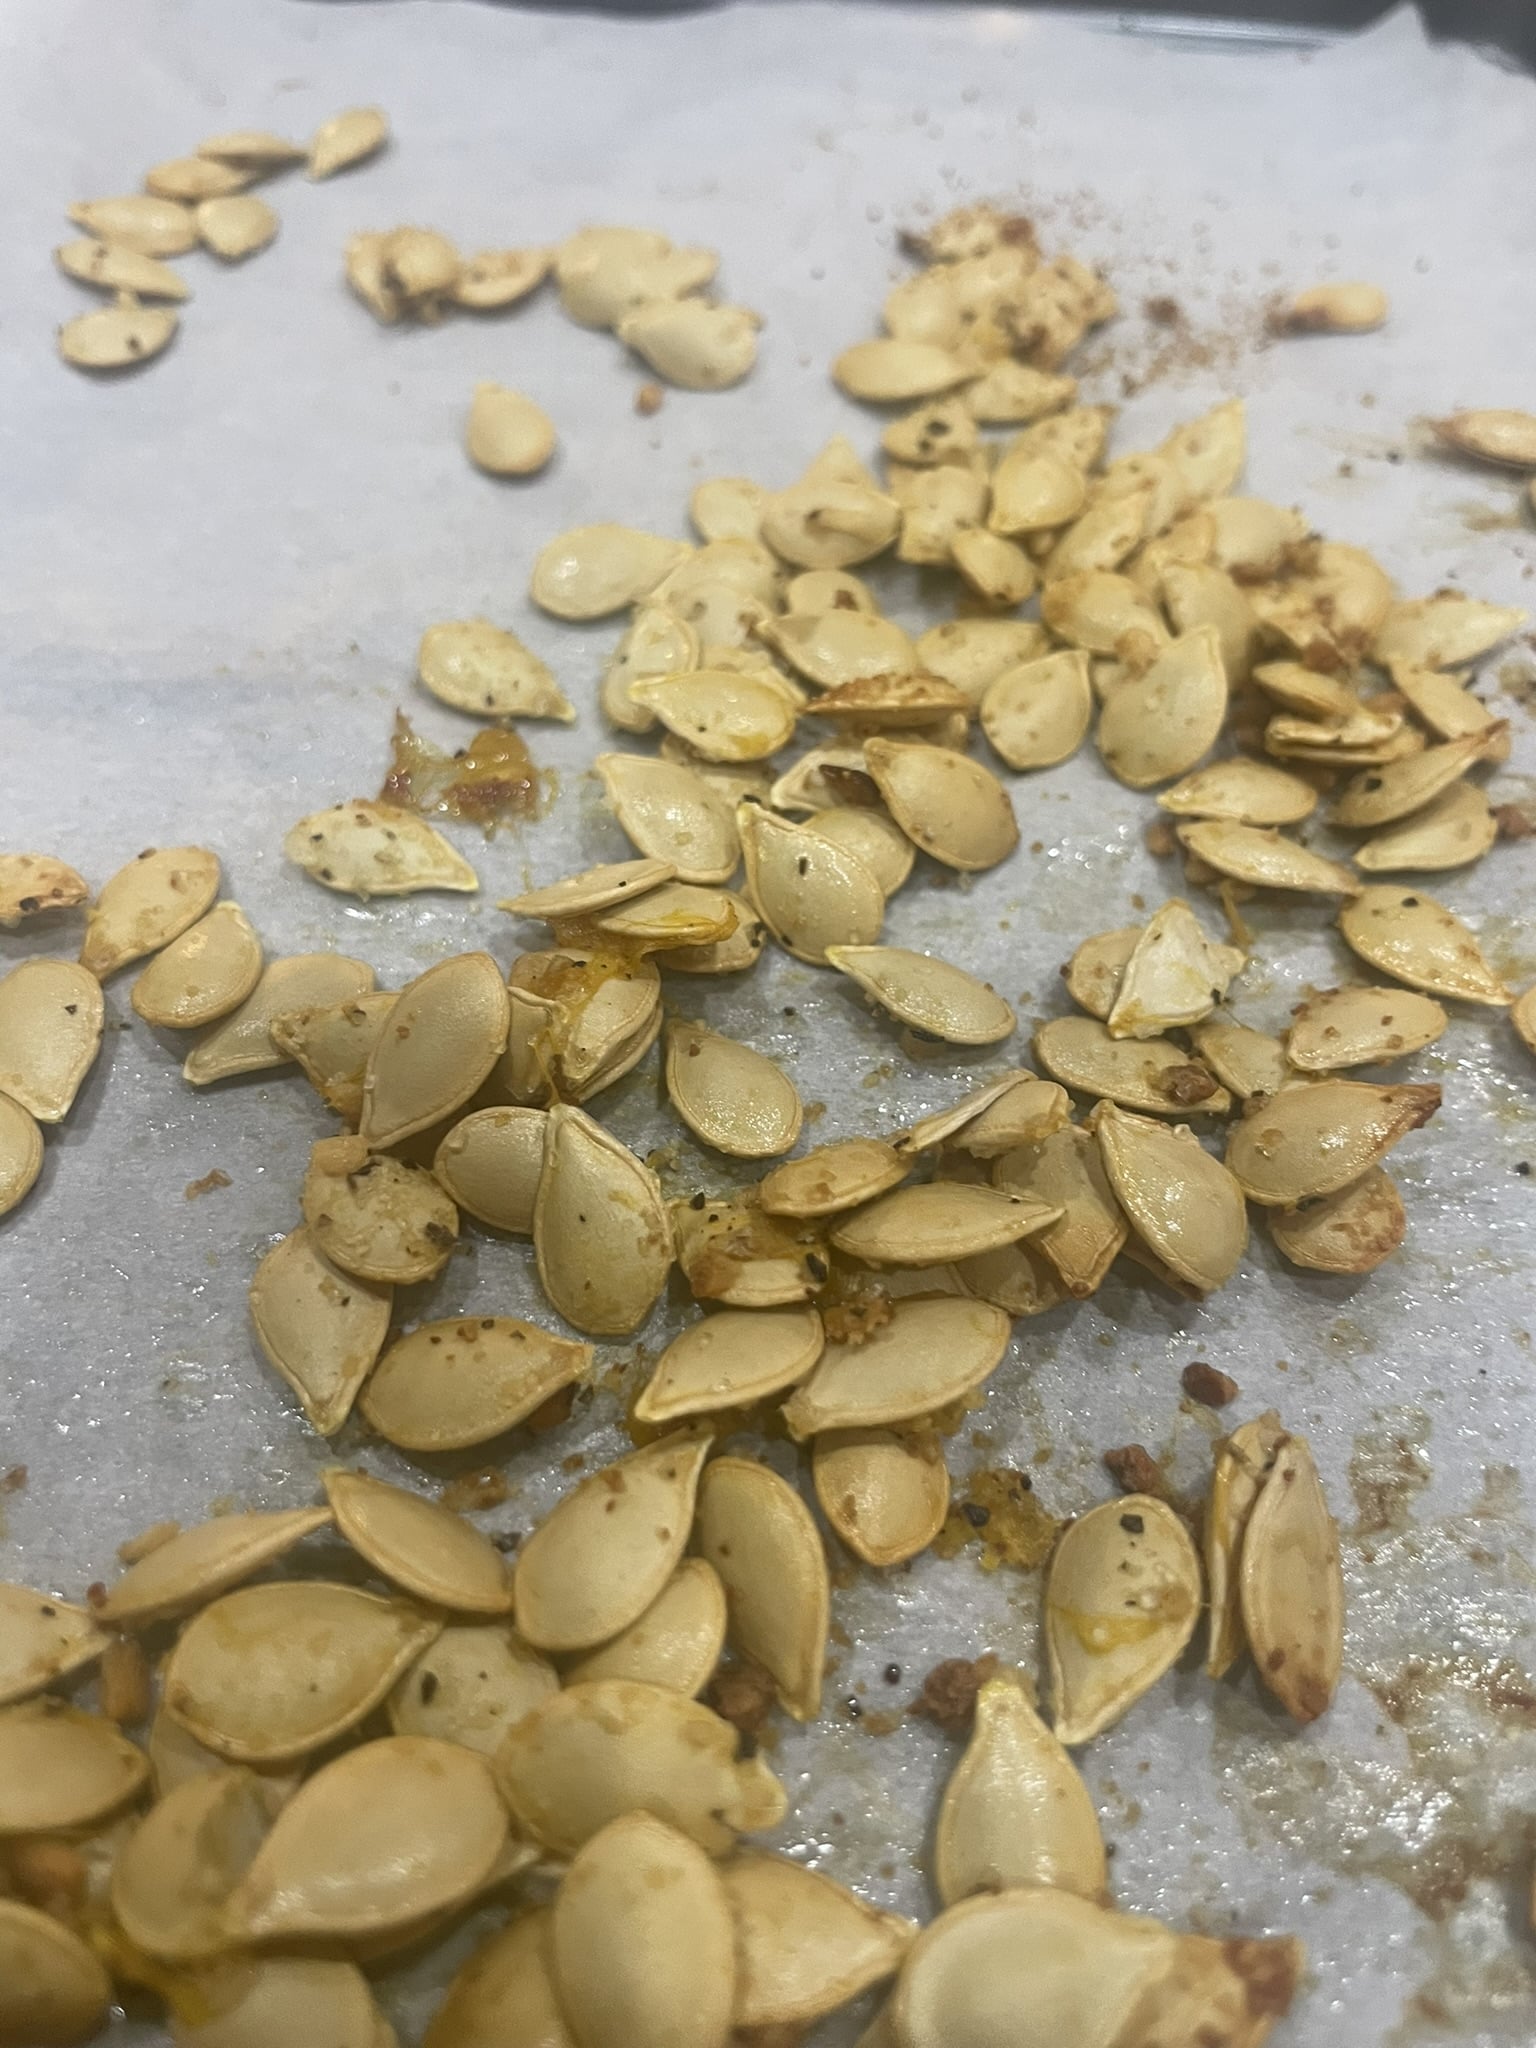
Seeds from pumpkin
1 tablespoon of olive oil or melted butter
Salt to taste
Seasonings of your choice (garlic powder, paprika or even cinnamon)
Preheat oven to 350 degrees.
Scoop the seeds from your pumpkin by cutting off the top and reaching in to grab them. Separate the seeds from the pulp. Rinse seeds in colander under cold water and remove any remaining pumpkin pulp.
Arrange the seeds in single layer on a cookie sheet. Bake the seeds in the preheated oven for about 20-30 minutes, stirring occasionally, until the seeds are golden brown and crispy. Remove from the oven and let them cool. Taste and adjust seasoning if necessary.
Sprinkle on a salad or enjoy as a snack.
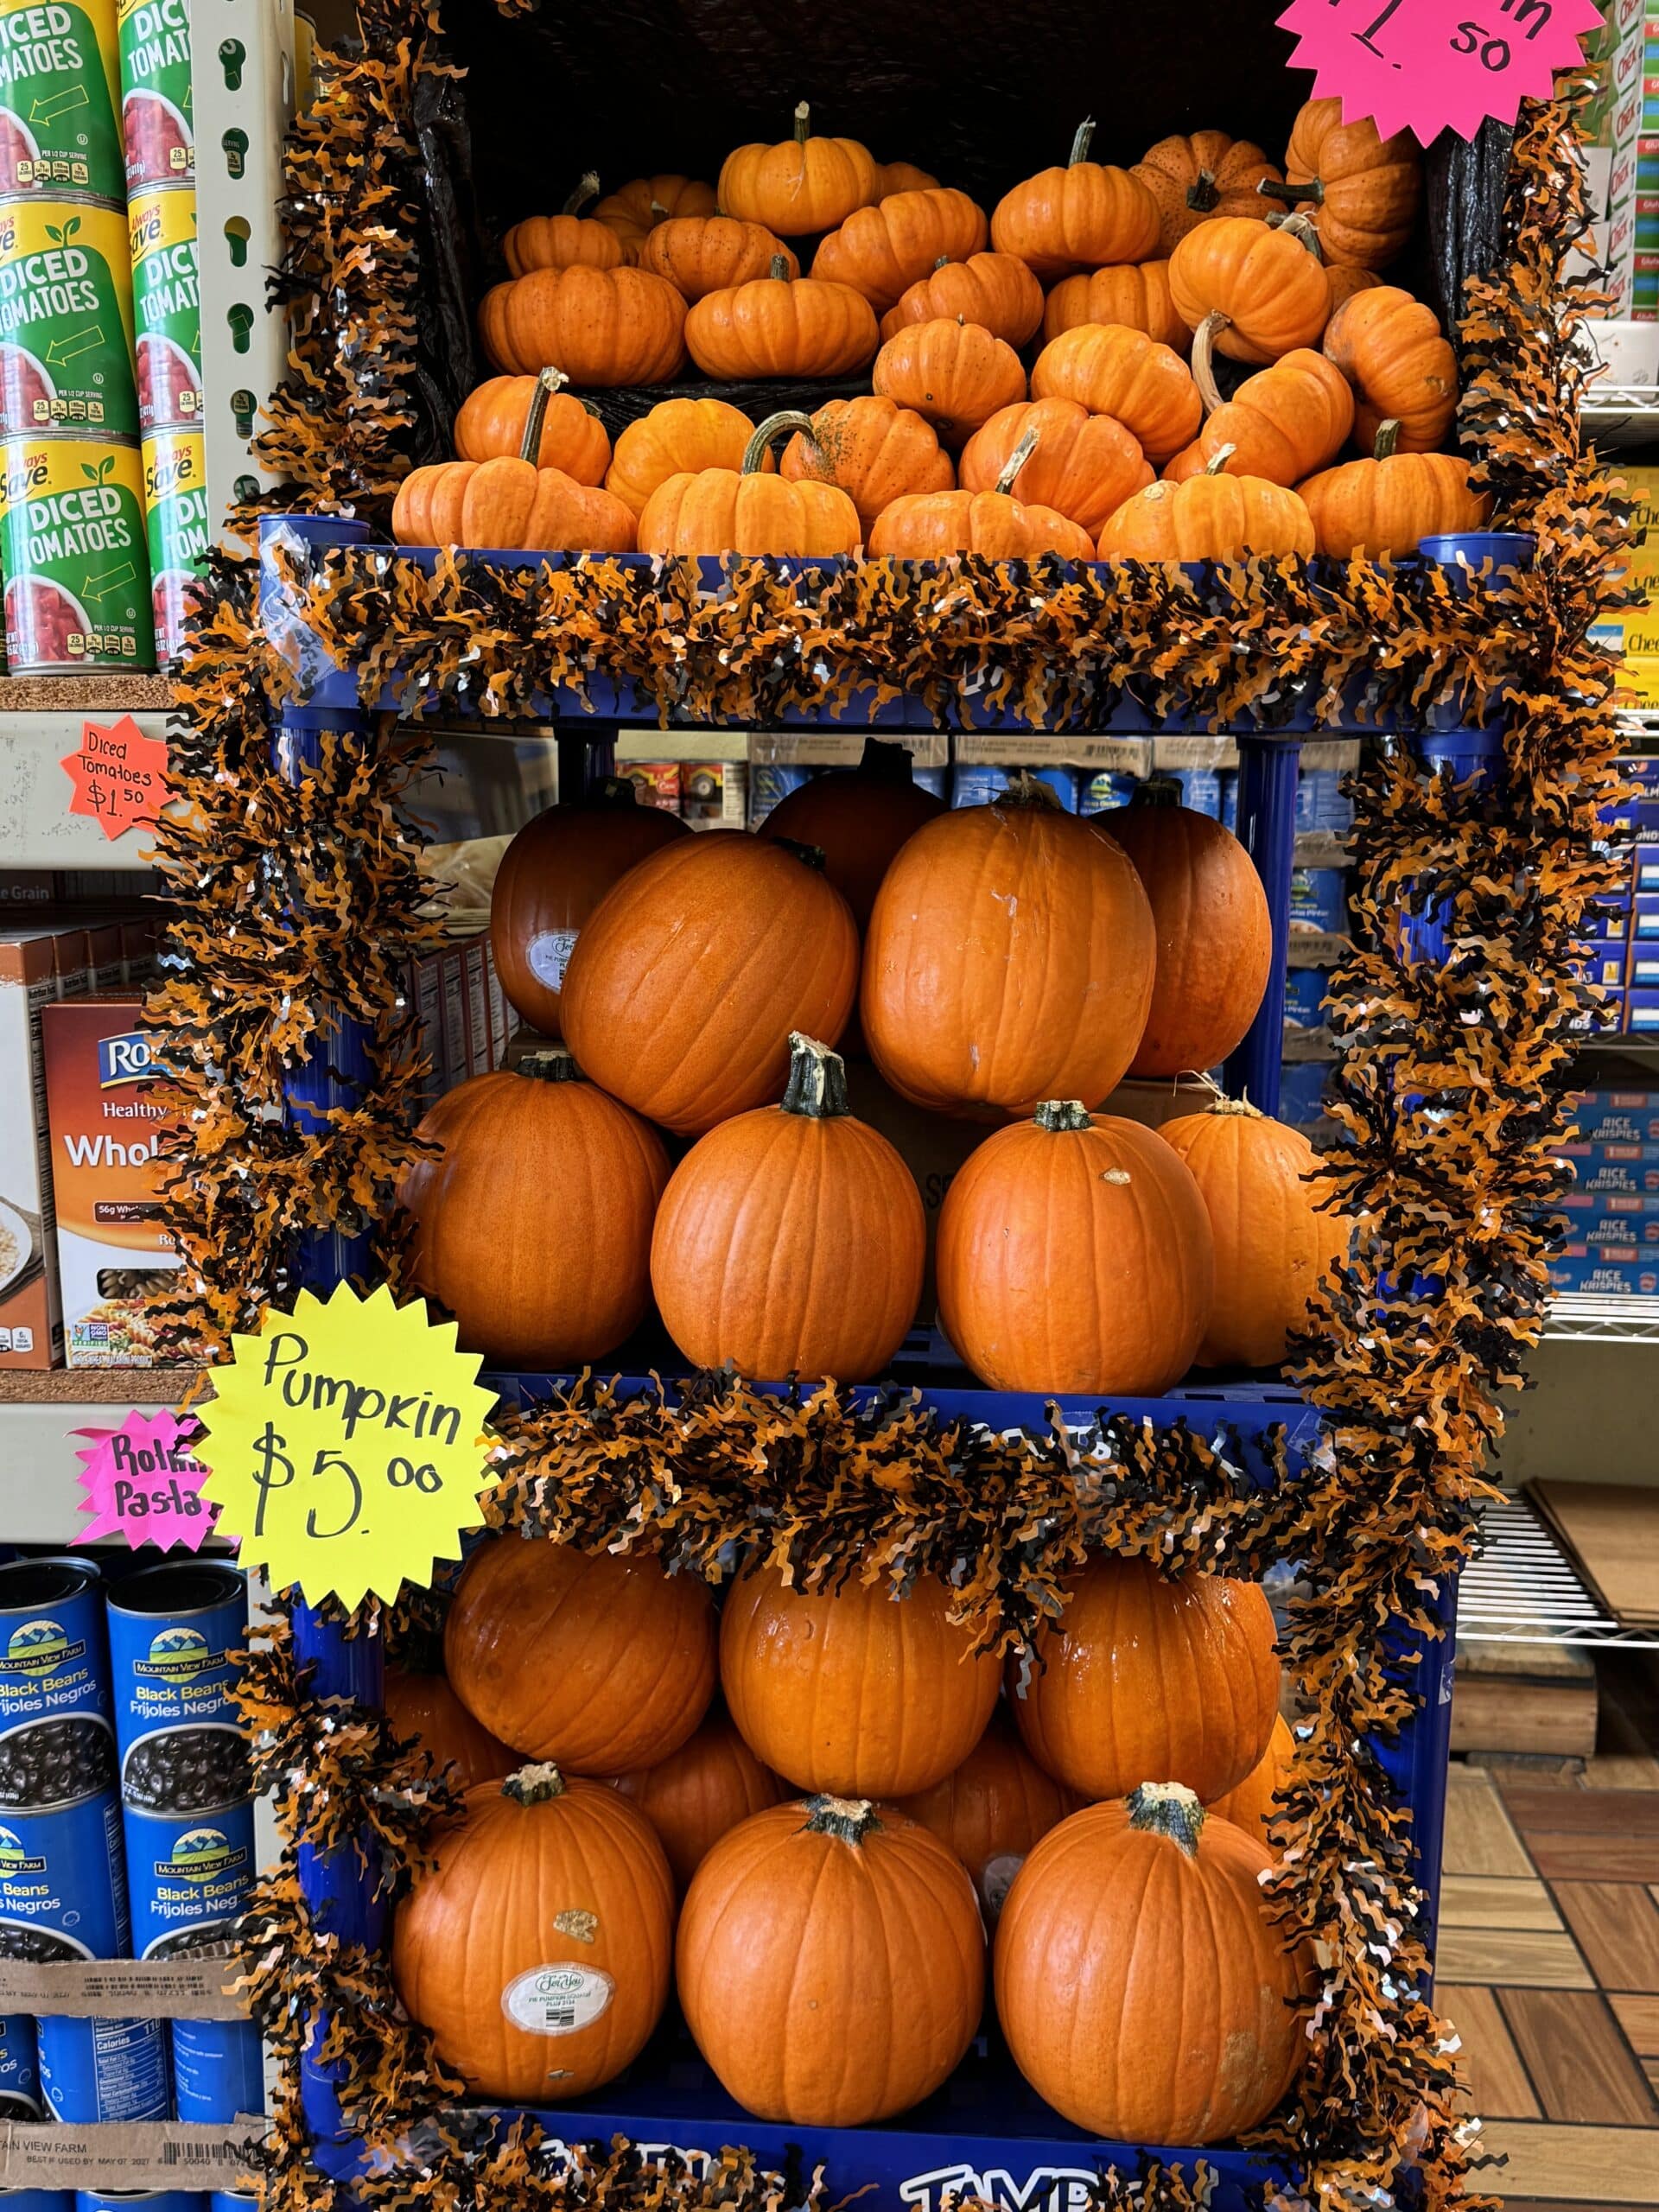
Swing by a JC Food Mart store today to pick up your pumpkins. 
Stores are now offering them in three different sizes. Stores are currently offering these sizes will supplies last:
Mini pumpkins – $1.50
Pie pumpkins – $5 each
Jack o’ Lantern pumpkins – $7 each
Pumpkins are perfect for decorating, and for making your favorite seasonal recipes. Check back for ideas about how to use your pumpkin.
That’s why JC Food Mart stores are now carrying canned pumpkin. It’s arriving in stores now. Pick it up with your WIC fruits and vegetables benefit.
It’s a great choice for adding fiber, nutrition and flavor to your family recipes including pancakes, muffins and smoothies. Spoon a little into your prepared oatmeal, and toddler’s also love pumpkin puree on its own.
Here are a few recipes you will enjoy using canned pumpkin:

PUMPKIN MUFFINS
3 eggs
¼ cup peanut butter
1/4 cup maple syrup (or use a substitute of brown sugar by mixing a ¼ cup brown sugar and ¼ cup water)
½ cup pumpkin puree
3 tablespoons of vegetable oil
1 teaspoon vanilla extract
¼ cup flour
2 teaspoons cinnamon
½ teaspoon pumpkin pie spice
1 ½ teaspoons baking powder
¼ teaspoon baking soda
Preheat oven to 350 degrees. Grease mini muffin pan with non-stick spray. Mix all of your ingredients in a bowl until thoroughly combined. Add mix to pan and bake for about 15 minutes or until done.
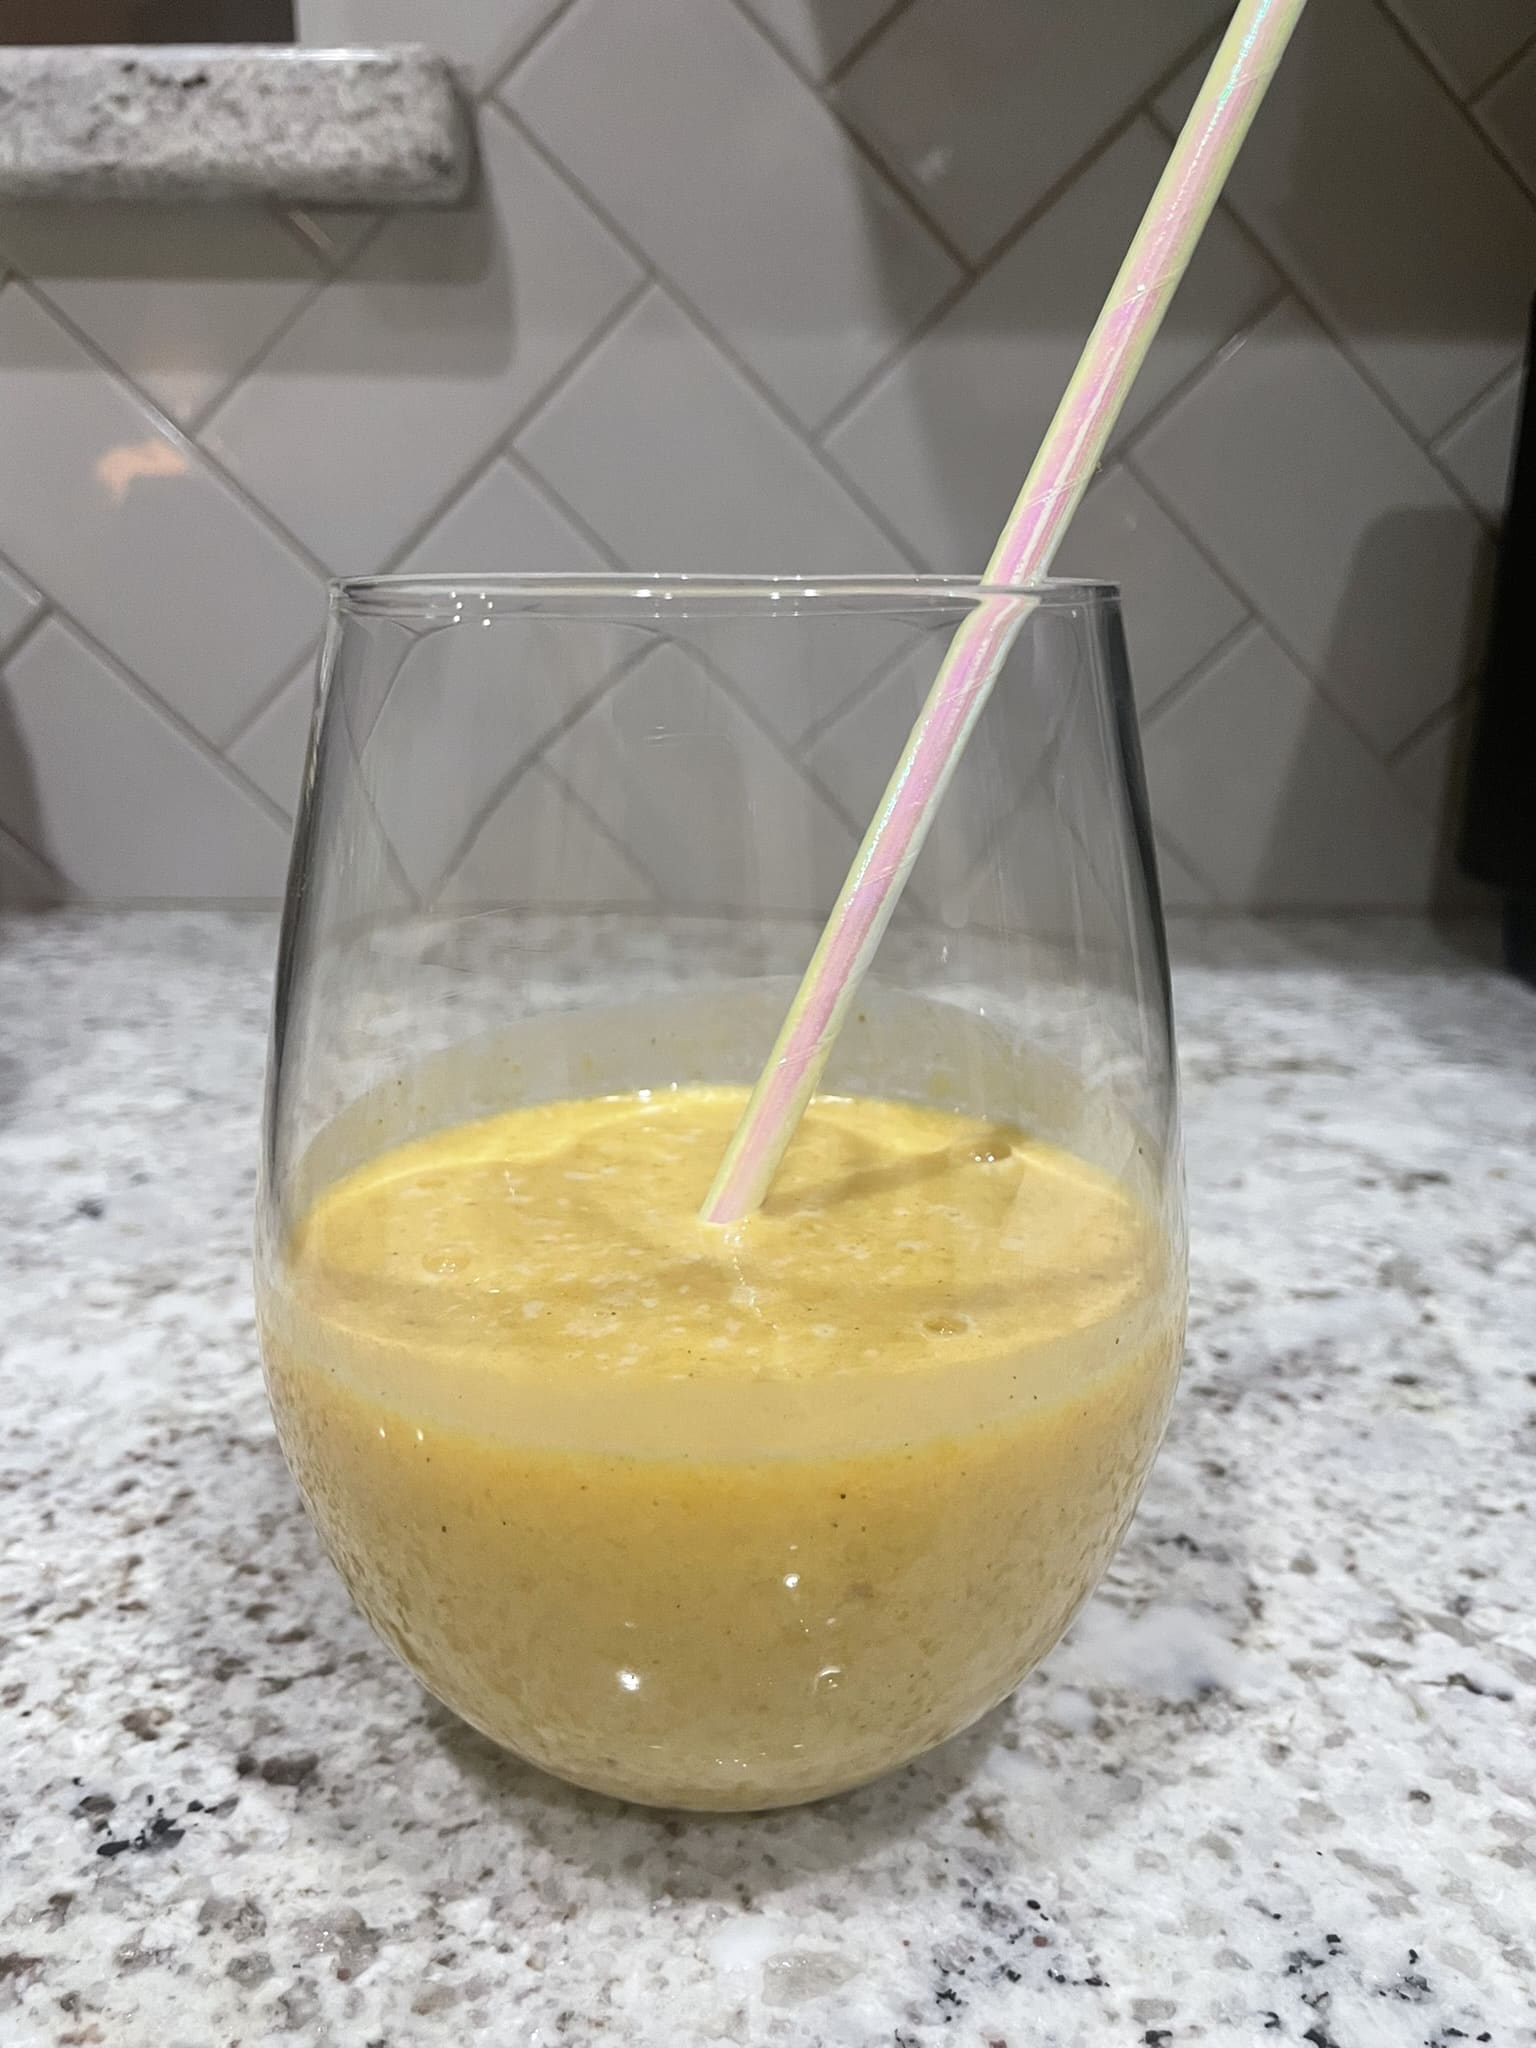
PUMPKIN SMOOTHIE
1/3 cup of pumpkin puree
1 banana
¼ teaspoon pumpkin pie spice
1 cup milk
¼ teaspoon vanilla extract
1 teaspoon of brown sugar – this is optional
Add all ingredients to a blender and blend until smooth. Serve cold.
Visit a JC Food Mart today to redeem your WIC benefits for pumpkin puree and pumpkins along with all your other WIC foods.
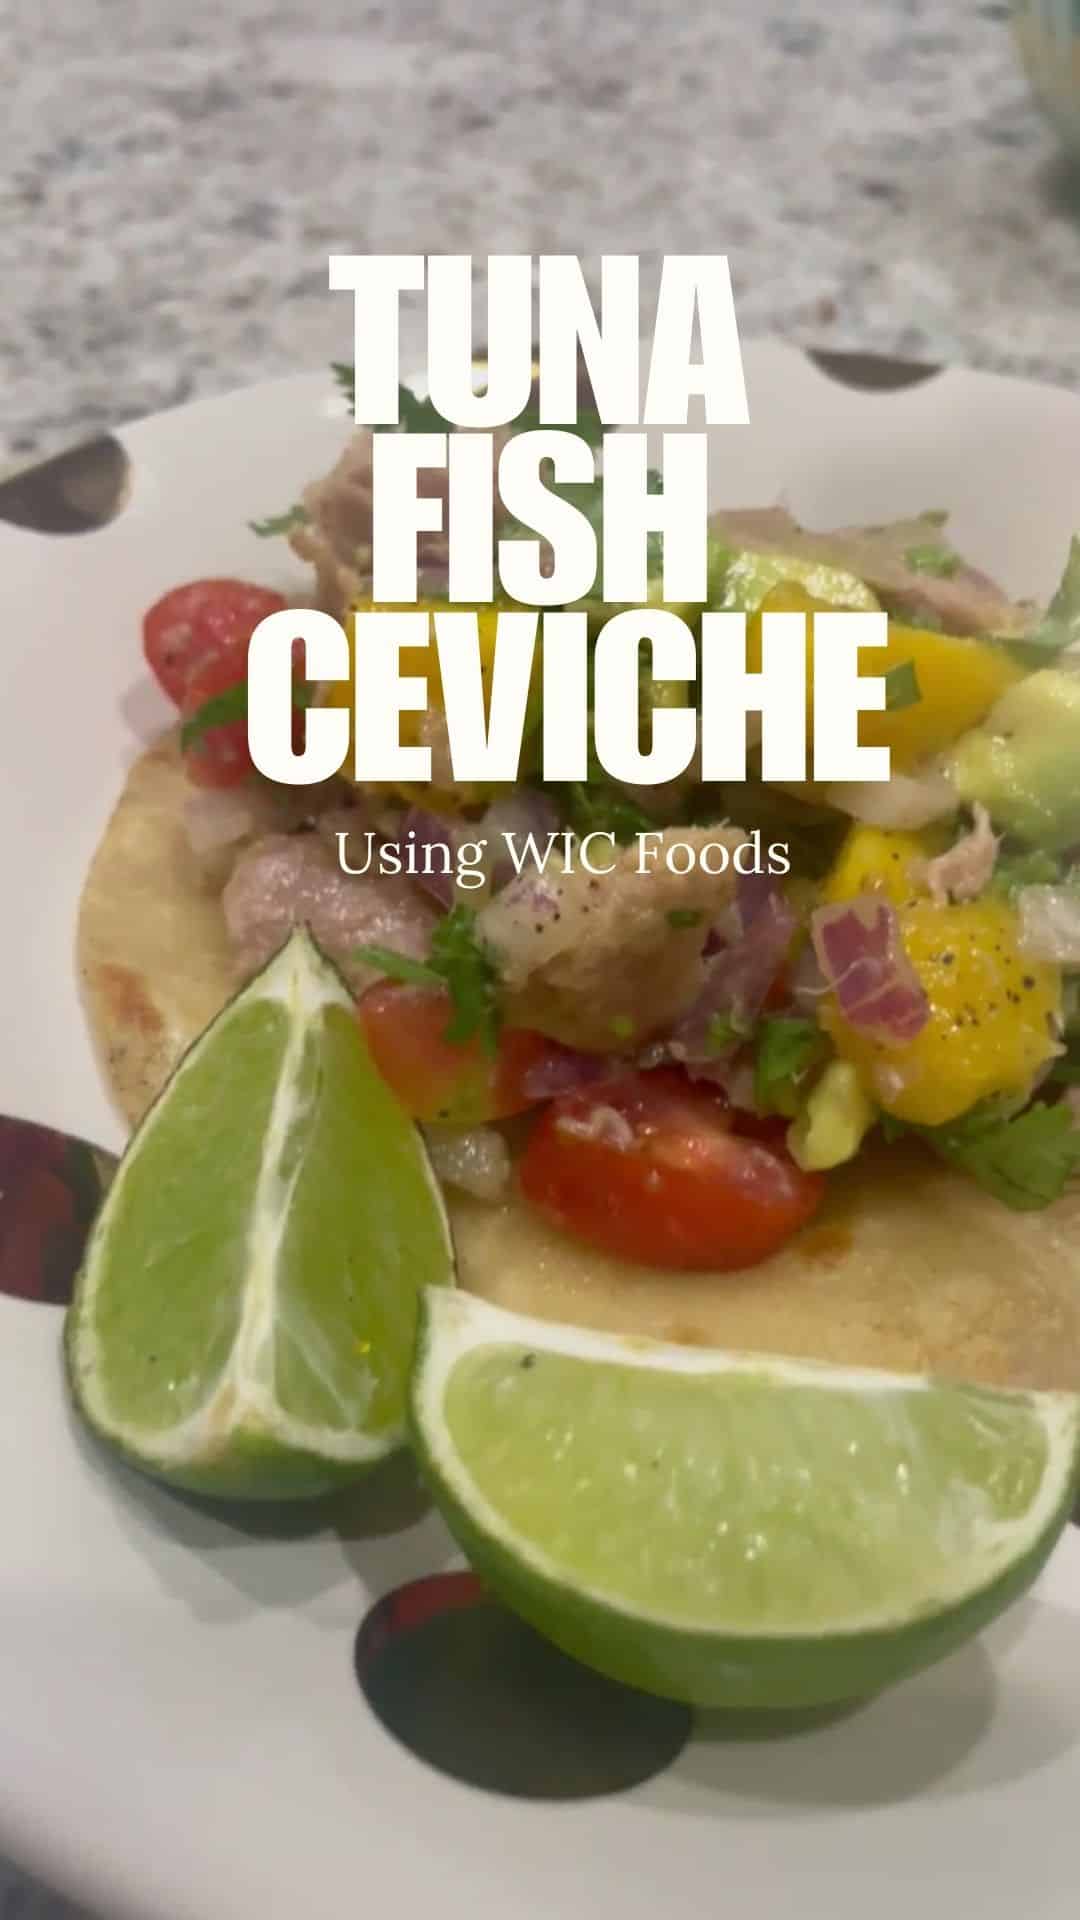
Looking for a quick and delicious meal that’s approved using WIC-approved foods? Turn canned tuna fish into a refreshing ceviche.
Ceviche is a vibrant and refreshing dish that’s popular in many Latin American countries. This easy-to-make recipe is perfect for a quick lunch or dinner and can be tailored to include a variety of fresh ingredients. Whether you’re enjoying it as a topping or on its own, ceviche is a delicious way to enjoy the benefits of produce and lean protein.
TUNA FISH CEVICHE
1 can of tuna fish, drained
¼ cup diced onion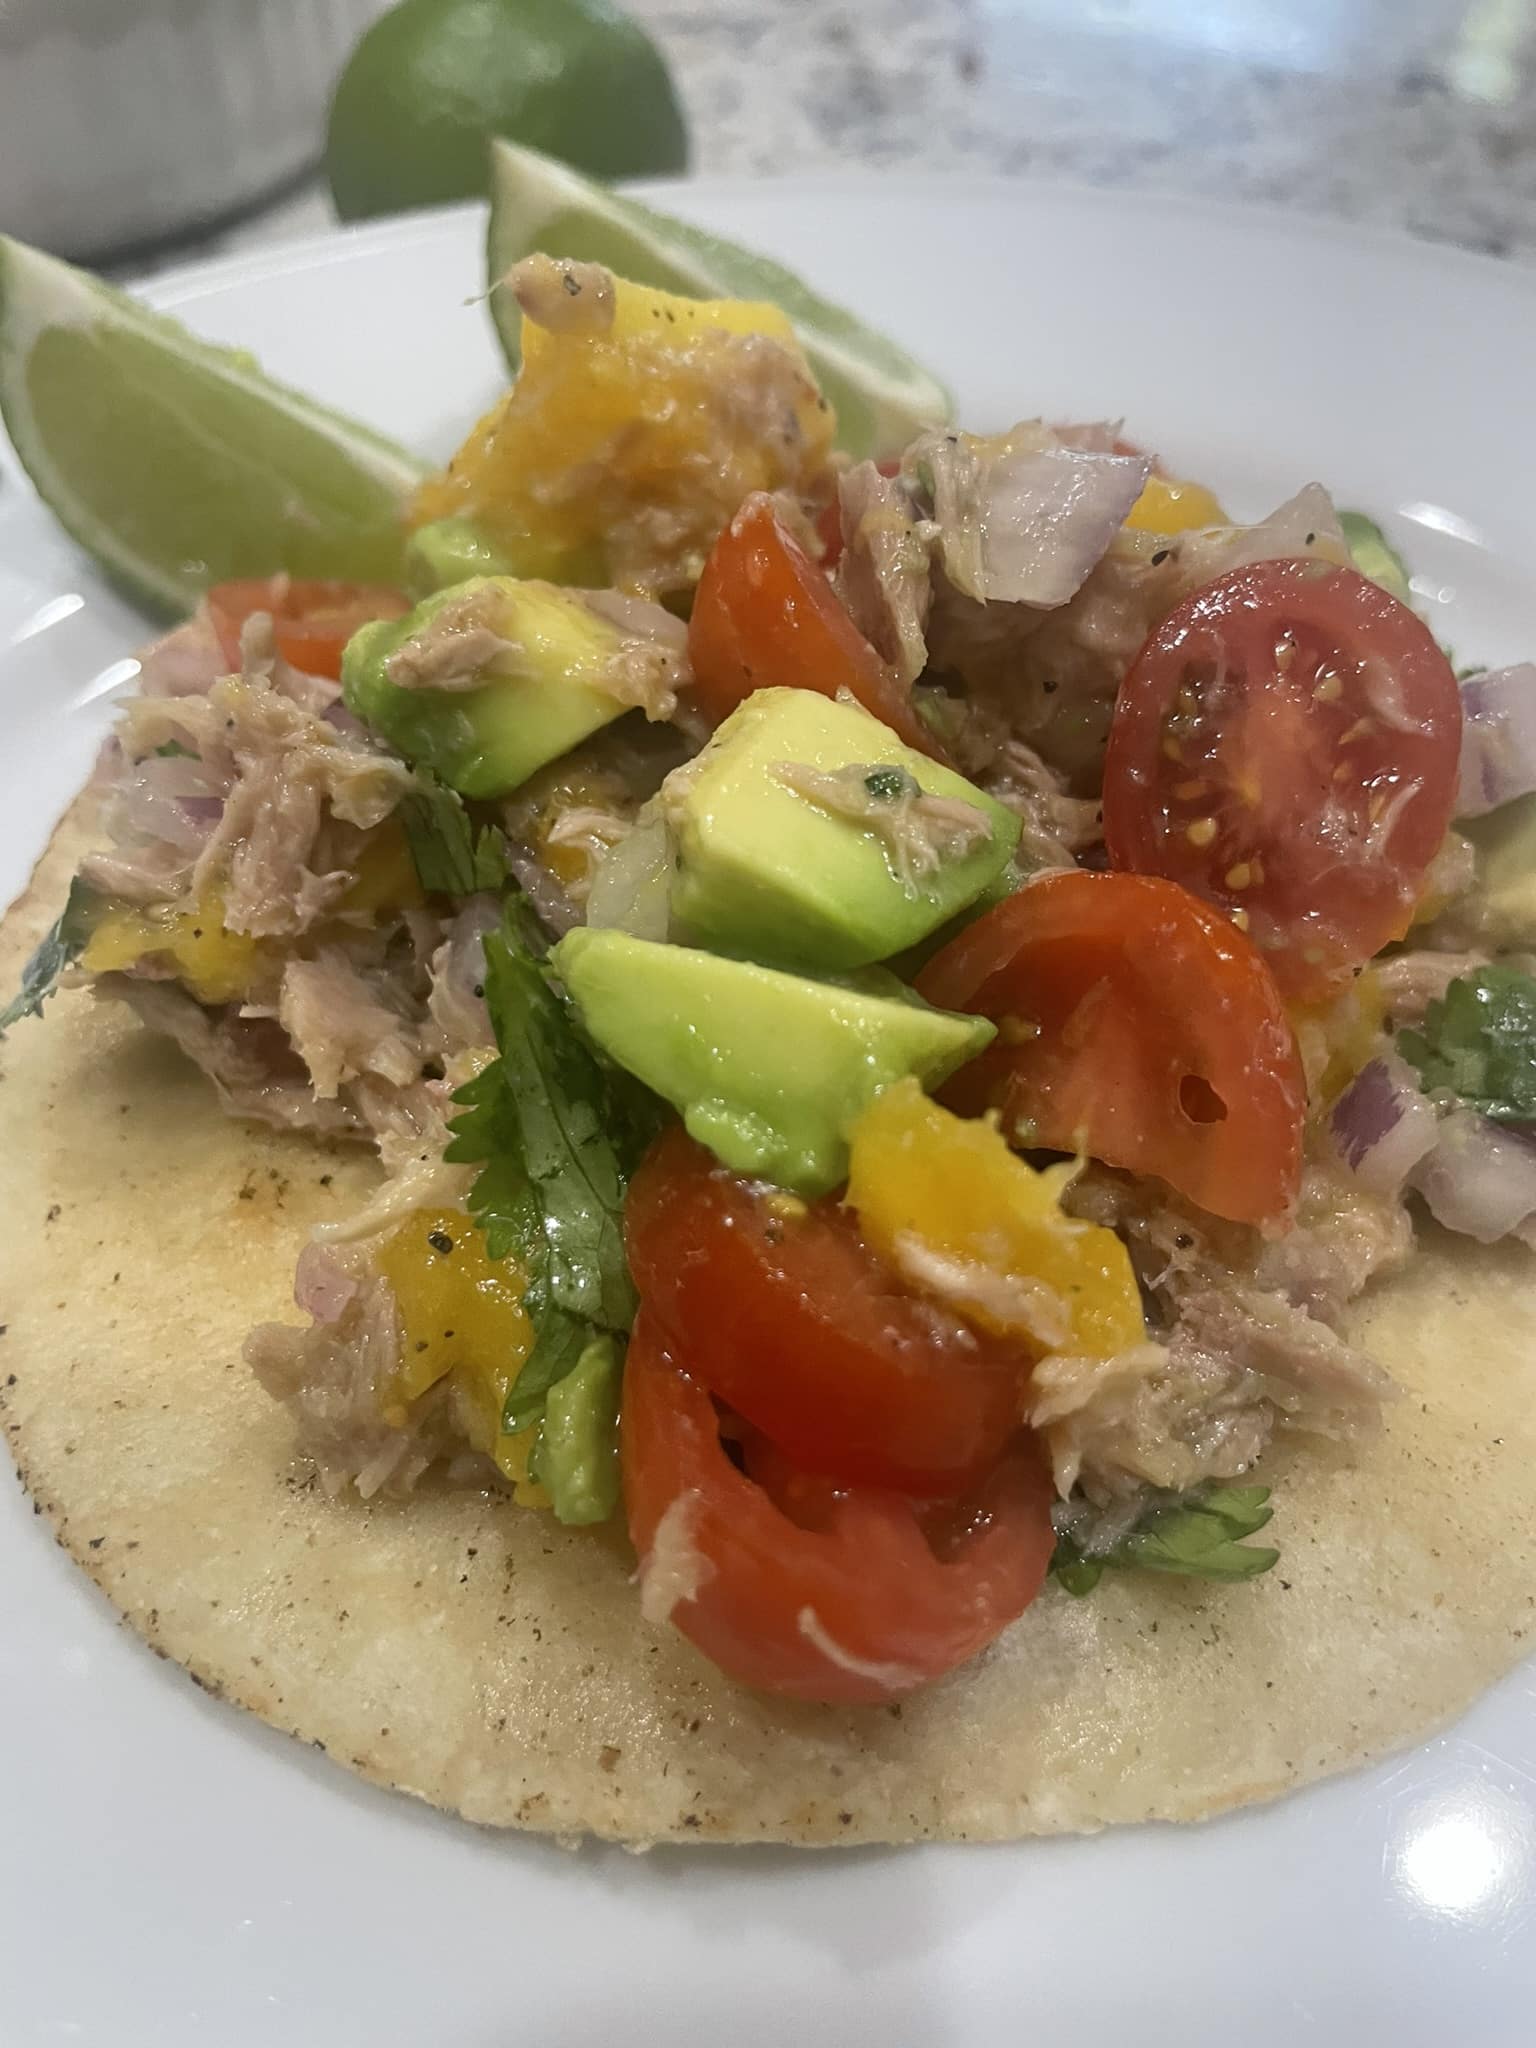
¼ cup diced tomatoes
Juice of 1 lime
½ avocado, diced
¼ cup diced mango (fresh or frozen)
Salt and pepper to taste
2 tortillas
1 teaspoon of oil
Heat the oil in a pan over medium heat.
Toast the tortilla (or two) in the pan until it’s golden and crispy.
In a bowl, combine the tuna, onion, tomatoes, lime juice, avocado, and mango. Season with salt and pepper to taste. Add tuna mixture to the tortilla and enjoy!
Pick up all your WIC foods at a JC Food Mart store.